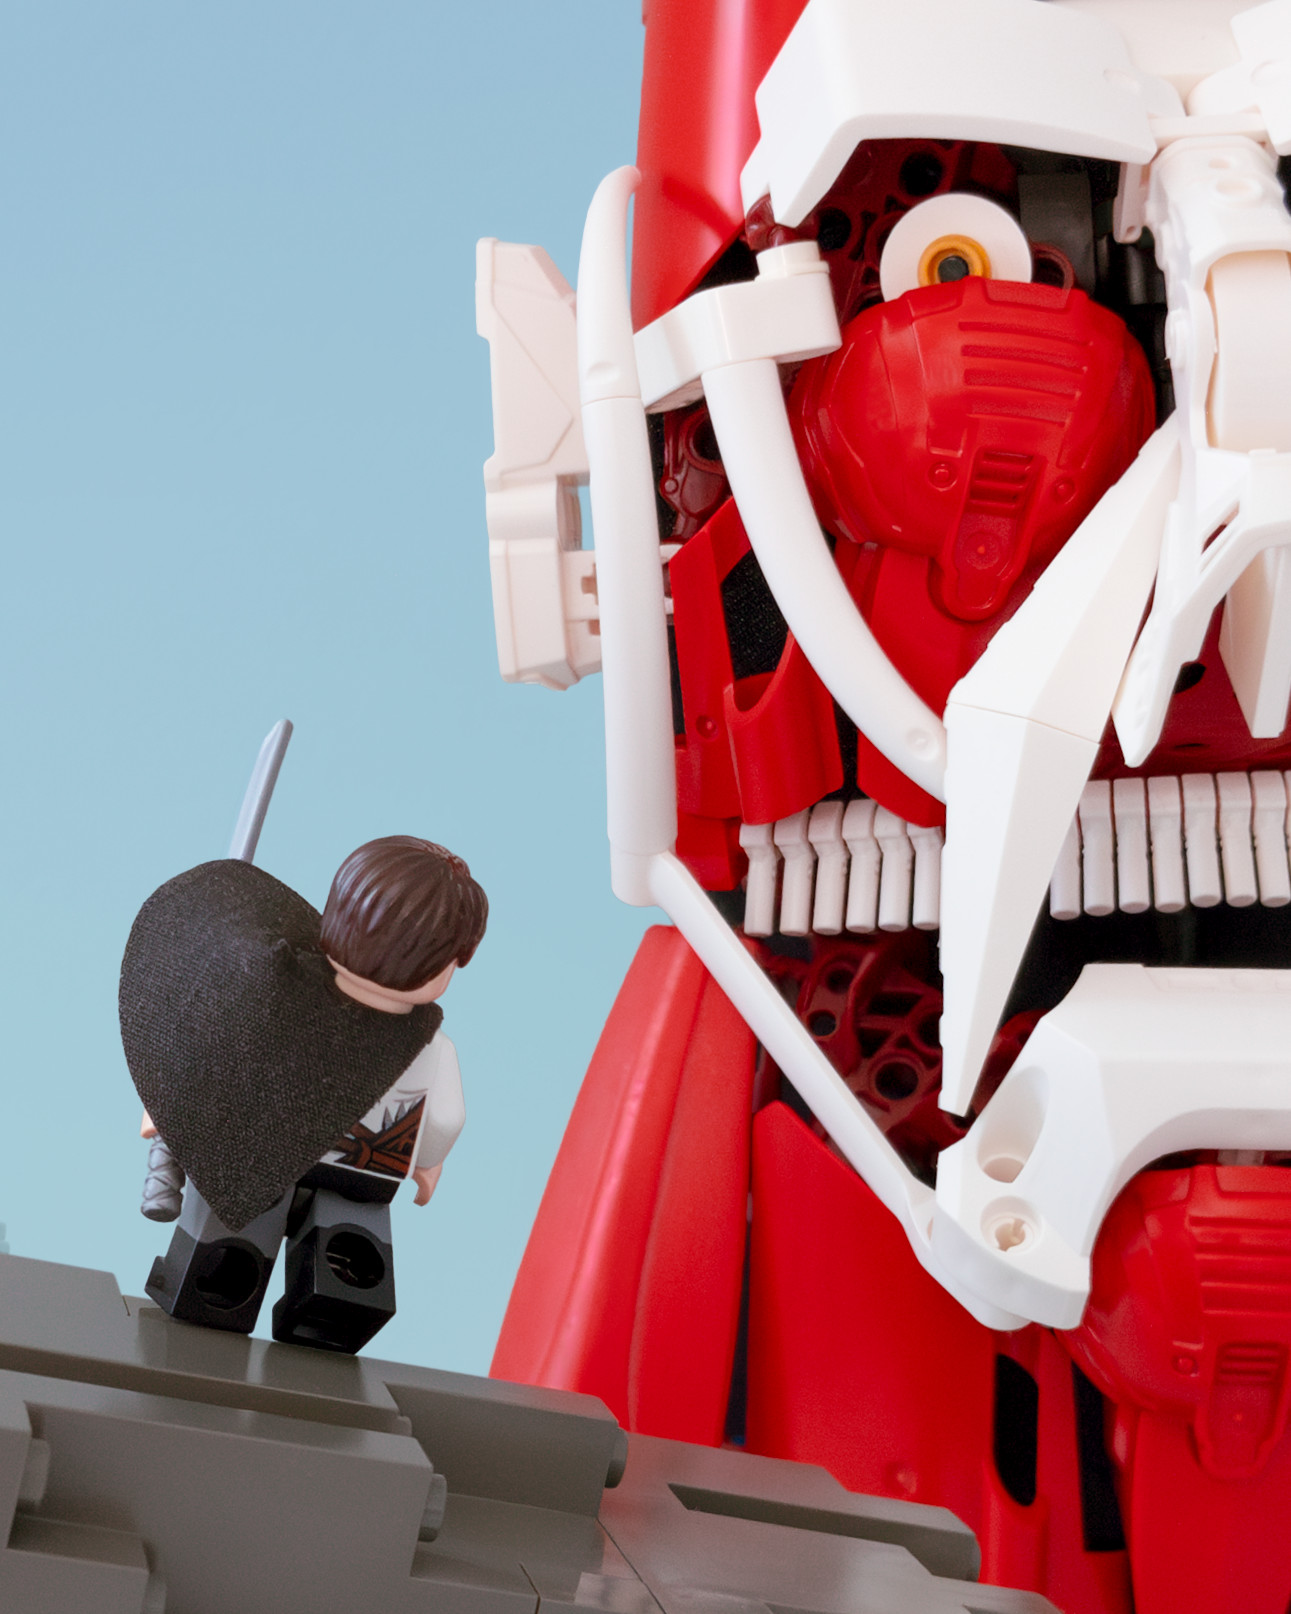
Colossal Titan
Published
Brief
Attack! Attacke! The sixth RogueOlympics theme was primed for a dramatic scene. I wasn’t particularly happy with the previous week’s entry, so I was eager to make a character I could be more proud of.
Concepts
However, the theme wasn’t exciting me, and I was coming up blank on ideas. My first concept was heart attack, a heart-shaped character with a weapon and menacing pose—but I wasn’t confident I had the parts for a convincing anatomical heart.
But while tinkering with a bin of Hero Factory parts, I fixated on a red CCBS armor addon?. It reminded me of the muscles around the eye, calling to mind the characters from Attack on Titan. I haven’t watched the show or read the manga, but I recalled a great collab (Instagram) that proves the grisly aesthetic translates well to larger Lego figures.
As I quickly assembled a couple different eyes based around that part, I couldn’t get the concept out of my head. I knew it would be a risk to commit to this idea without properly exploring the alternatives, but it was already late in the week and this was what was exciting me.
Research
Since I wasn’t very familiar with the source material, I collected lots of reference images. It seemed like what I was imagining was closest to the Colossal Titan. That character appeared with different facial features (I think varying depending on the episode or season? Perhaps someone more familiar with the show can tell me…), and my final version draws details from a number of these.
The overall look is anatomical but exaggerated, with the Colossal Titan typically having a small and squarish head, thick neck, and broad body. I knew I was only going to be doing a partial figure based on the part count limit, but I wanted these aspects to come through.
Build
I built outward from around the eye socket, finding shapes to create the main white facial lines.
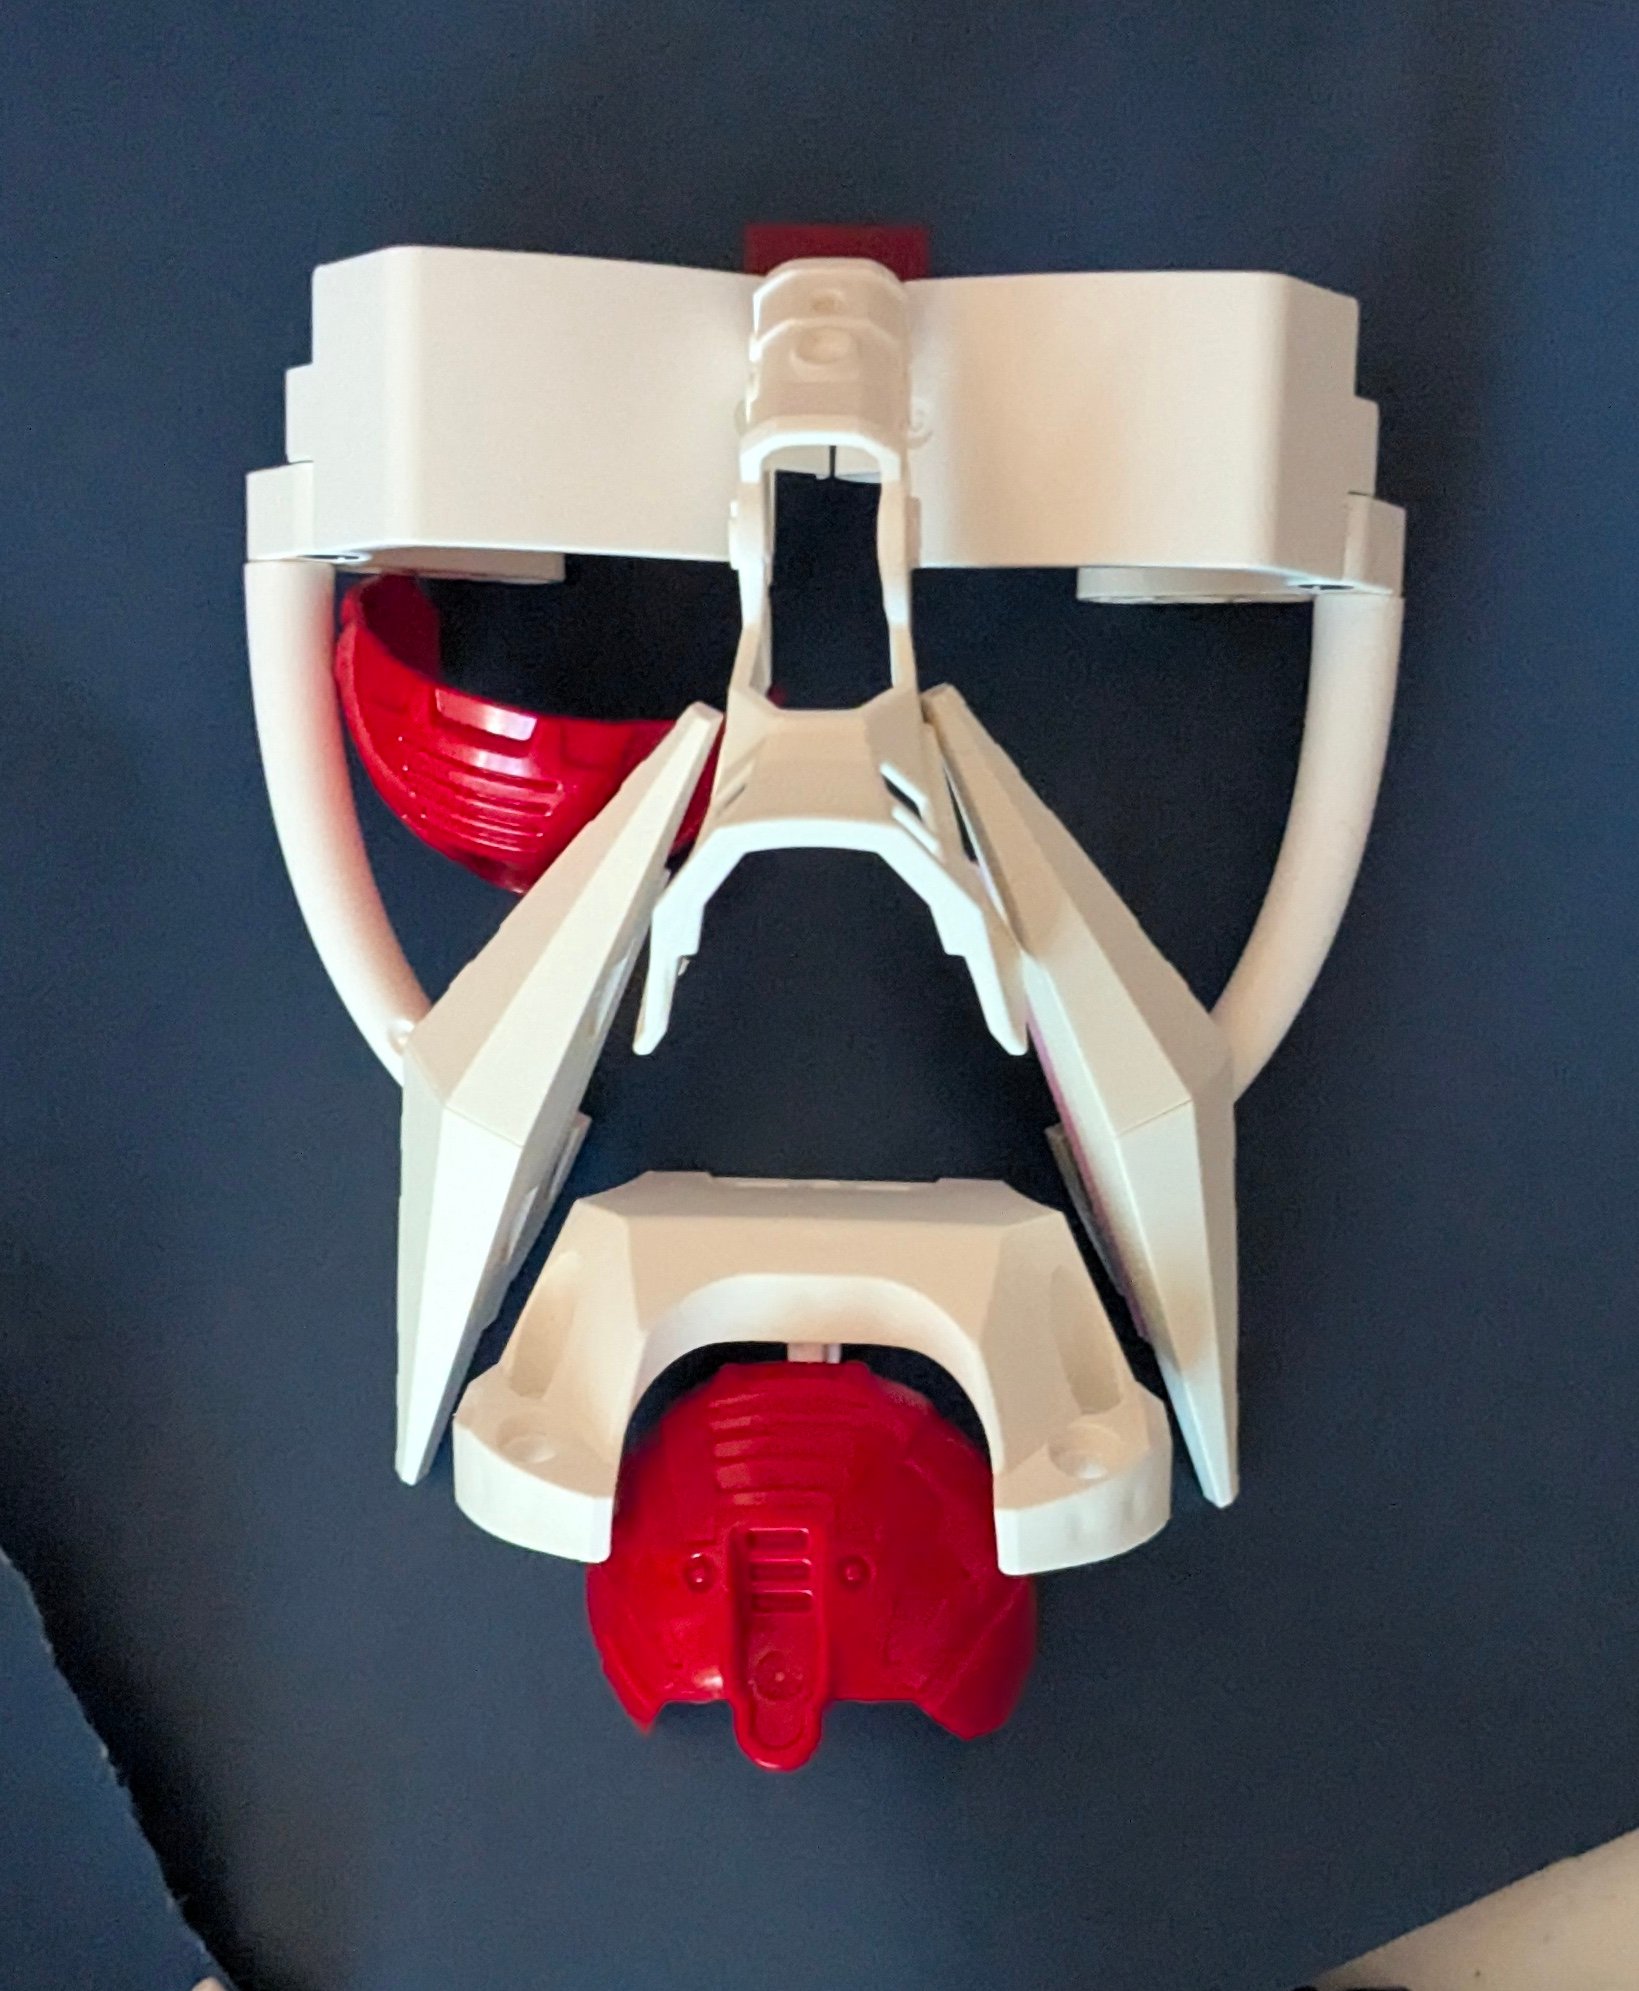
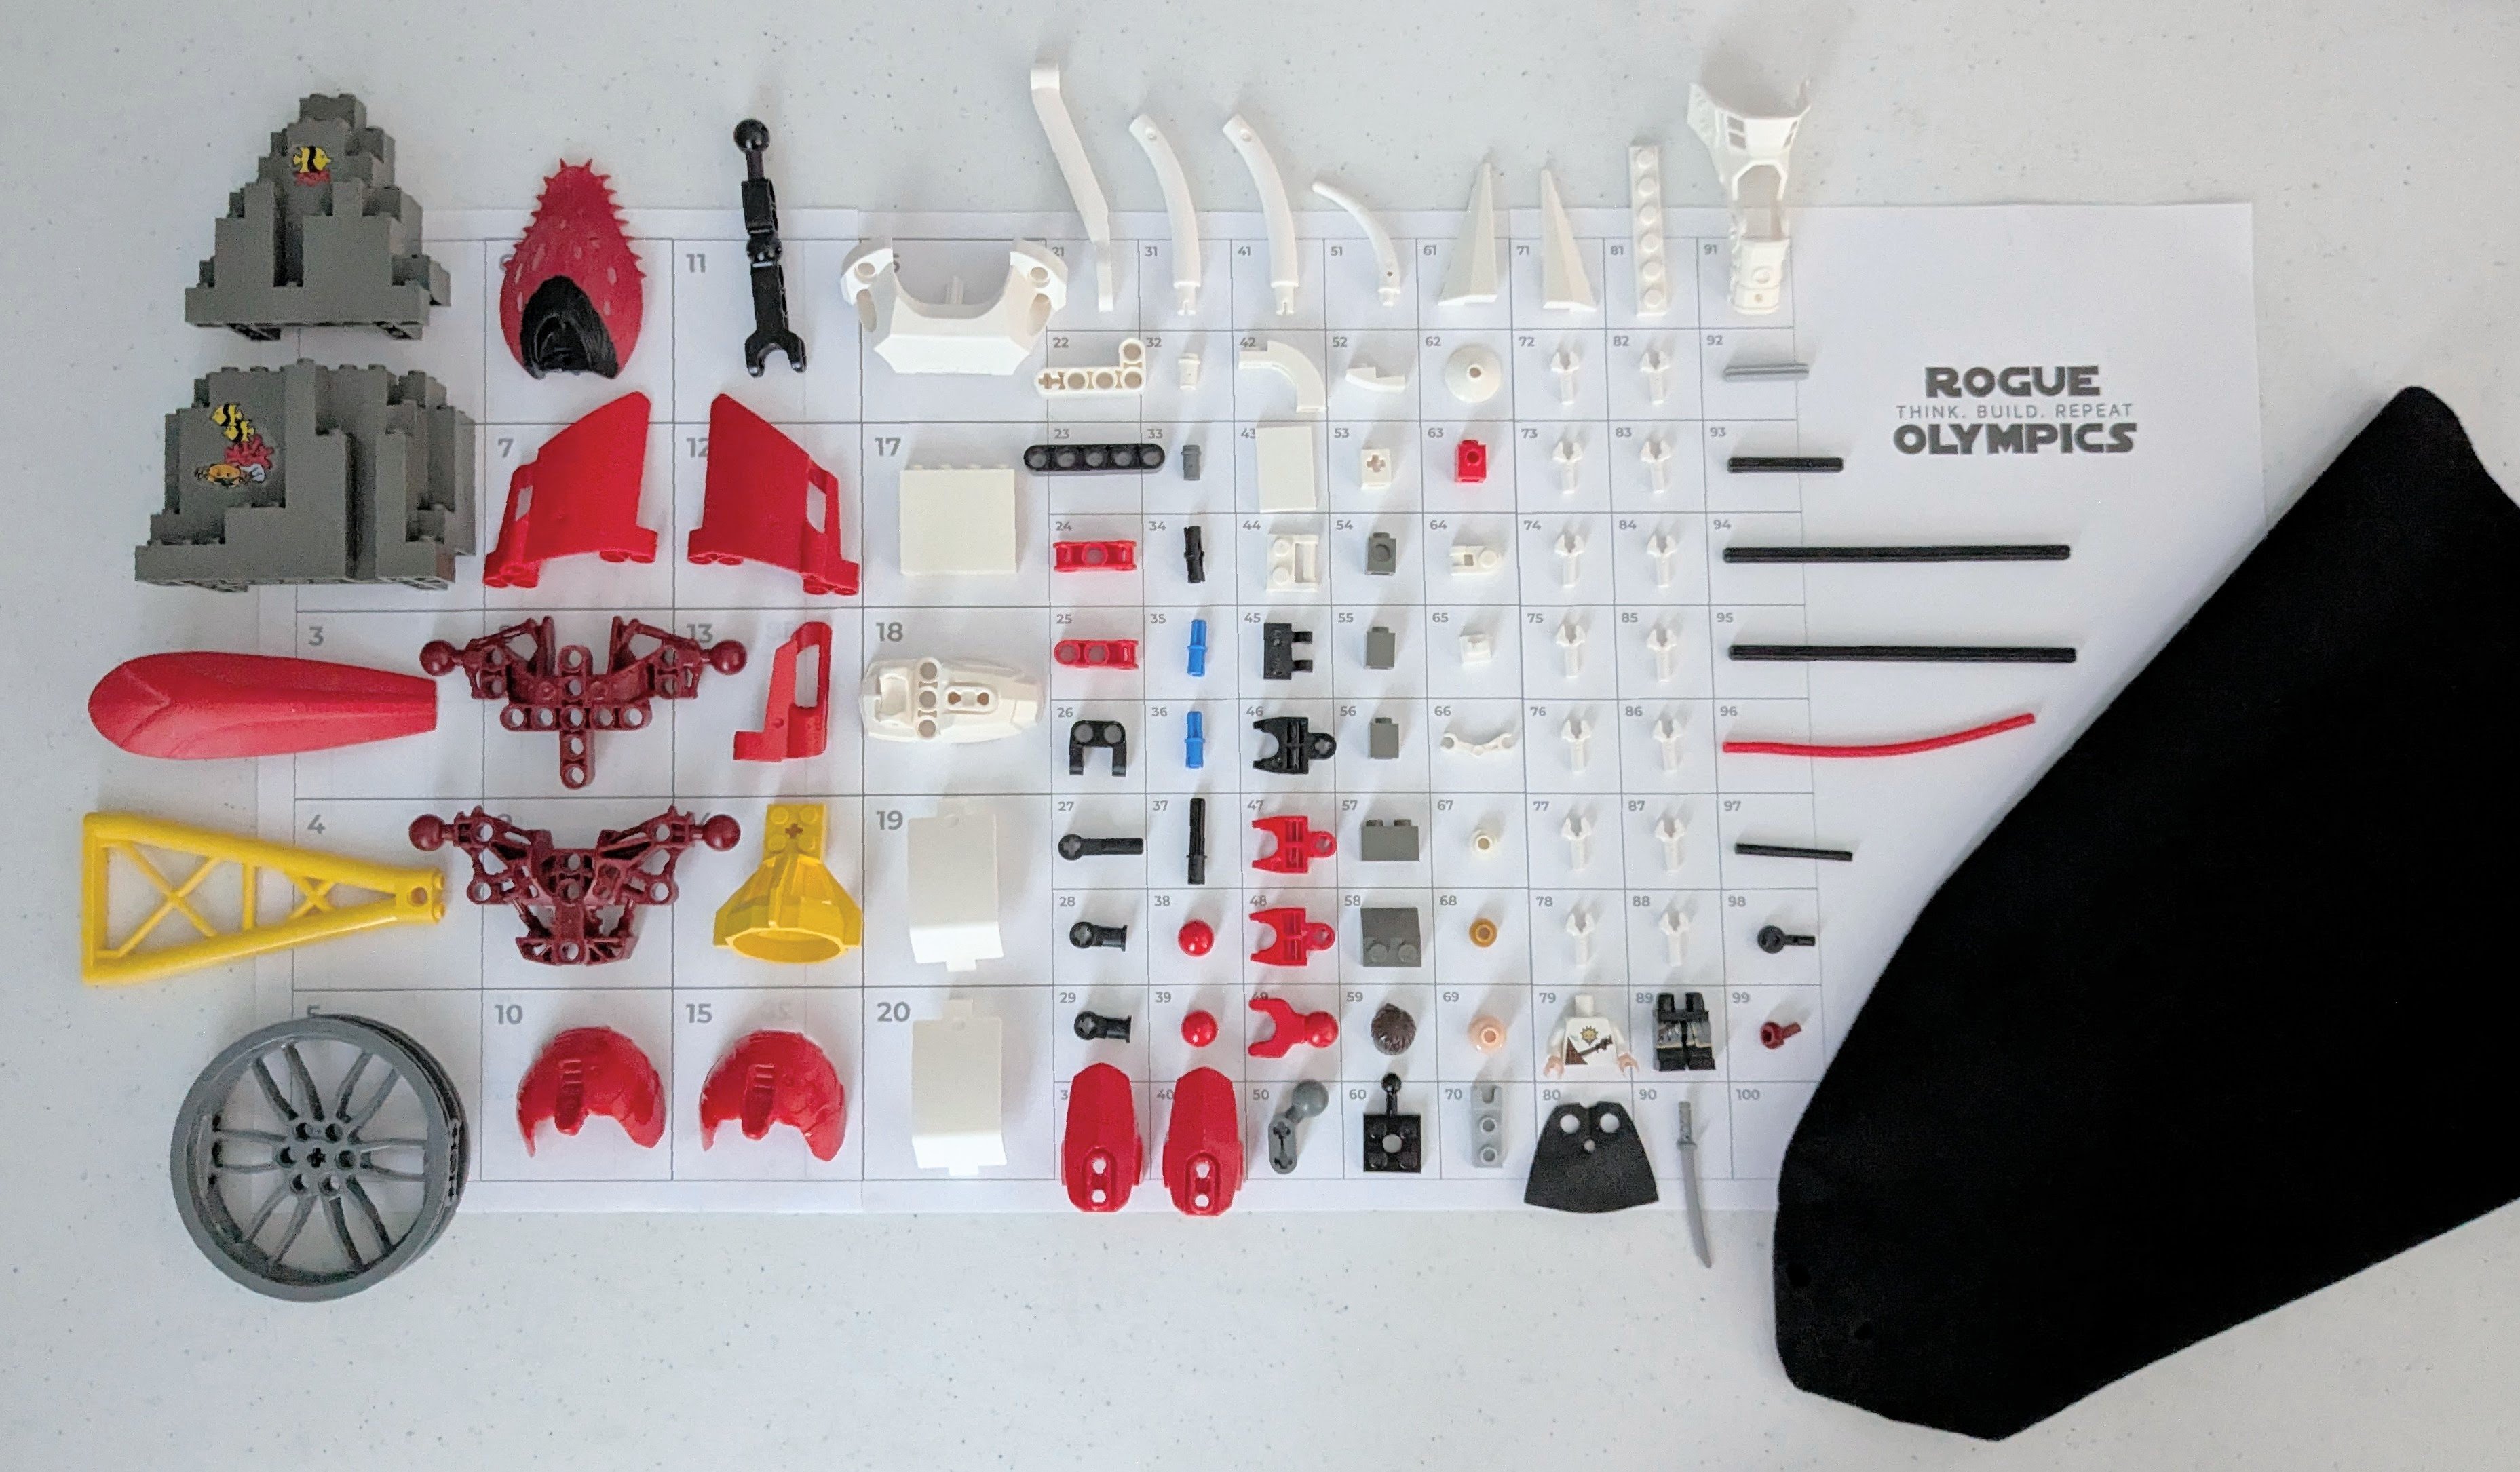
When I prepped a row of teeth using a flex tube covered in mechanical claw clips?, I realized that I’d be using nearly a third of my part count just on the mouth if I did both sides of the face. I had also been considering different ways to frame the scene: while it would be cool to have the titan reaching a hand out towards a minifig hunter, the scale of the face would already push the 101 element limit, and I worried it would be awkward to squeeze both into frame along with some scenery. Together, this led me to a composition where the face would fill most of the frame and be cut off near the nose, meaning I’d only have to build half a bust and thus use half the parts.
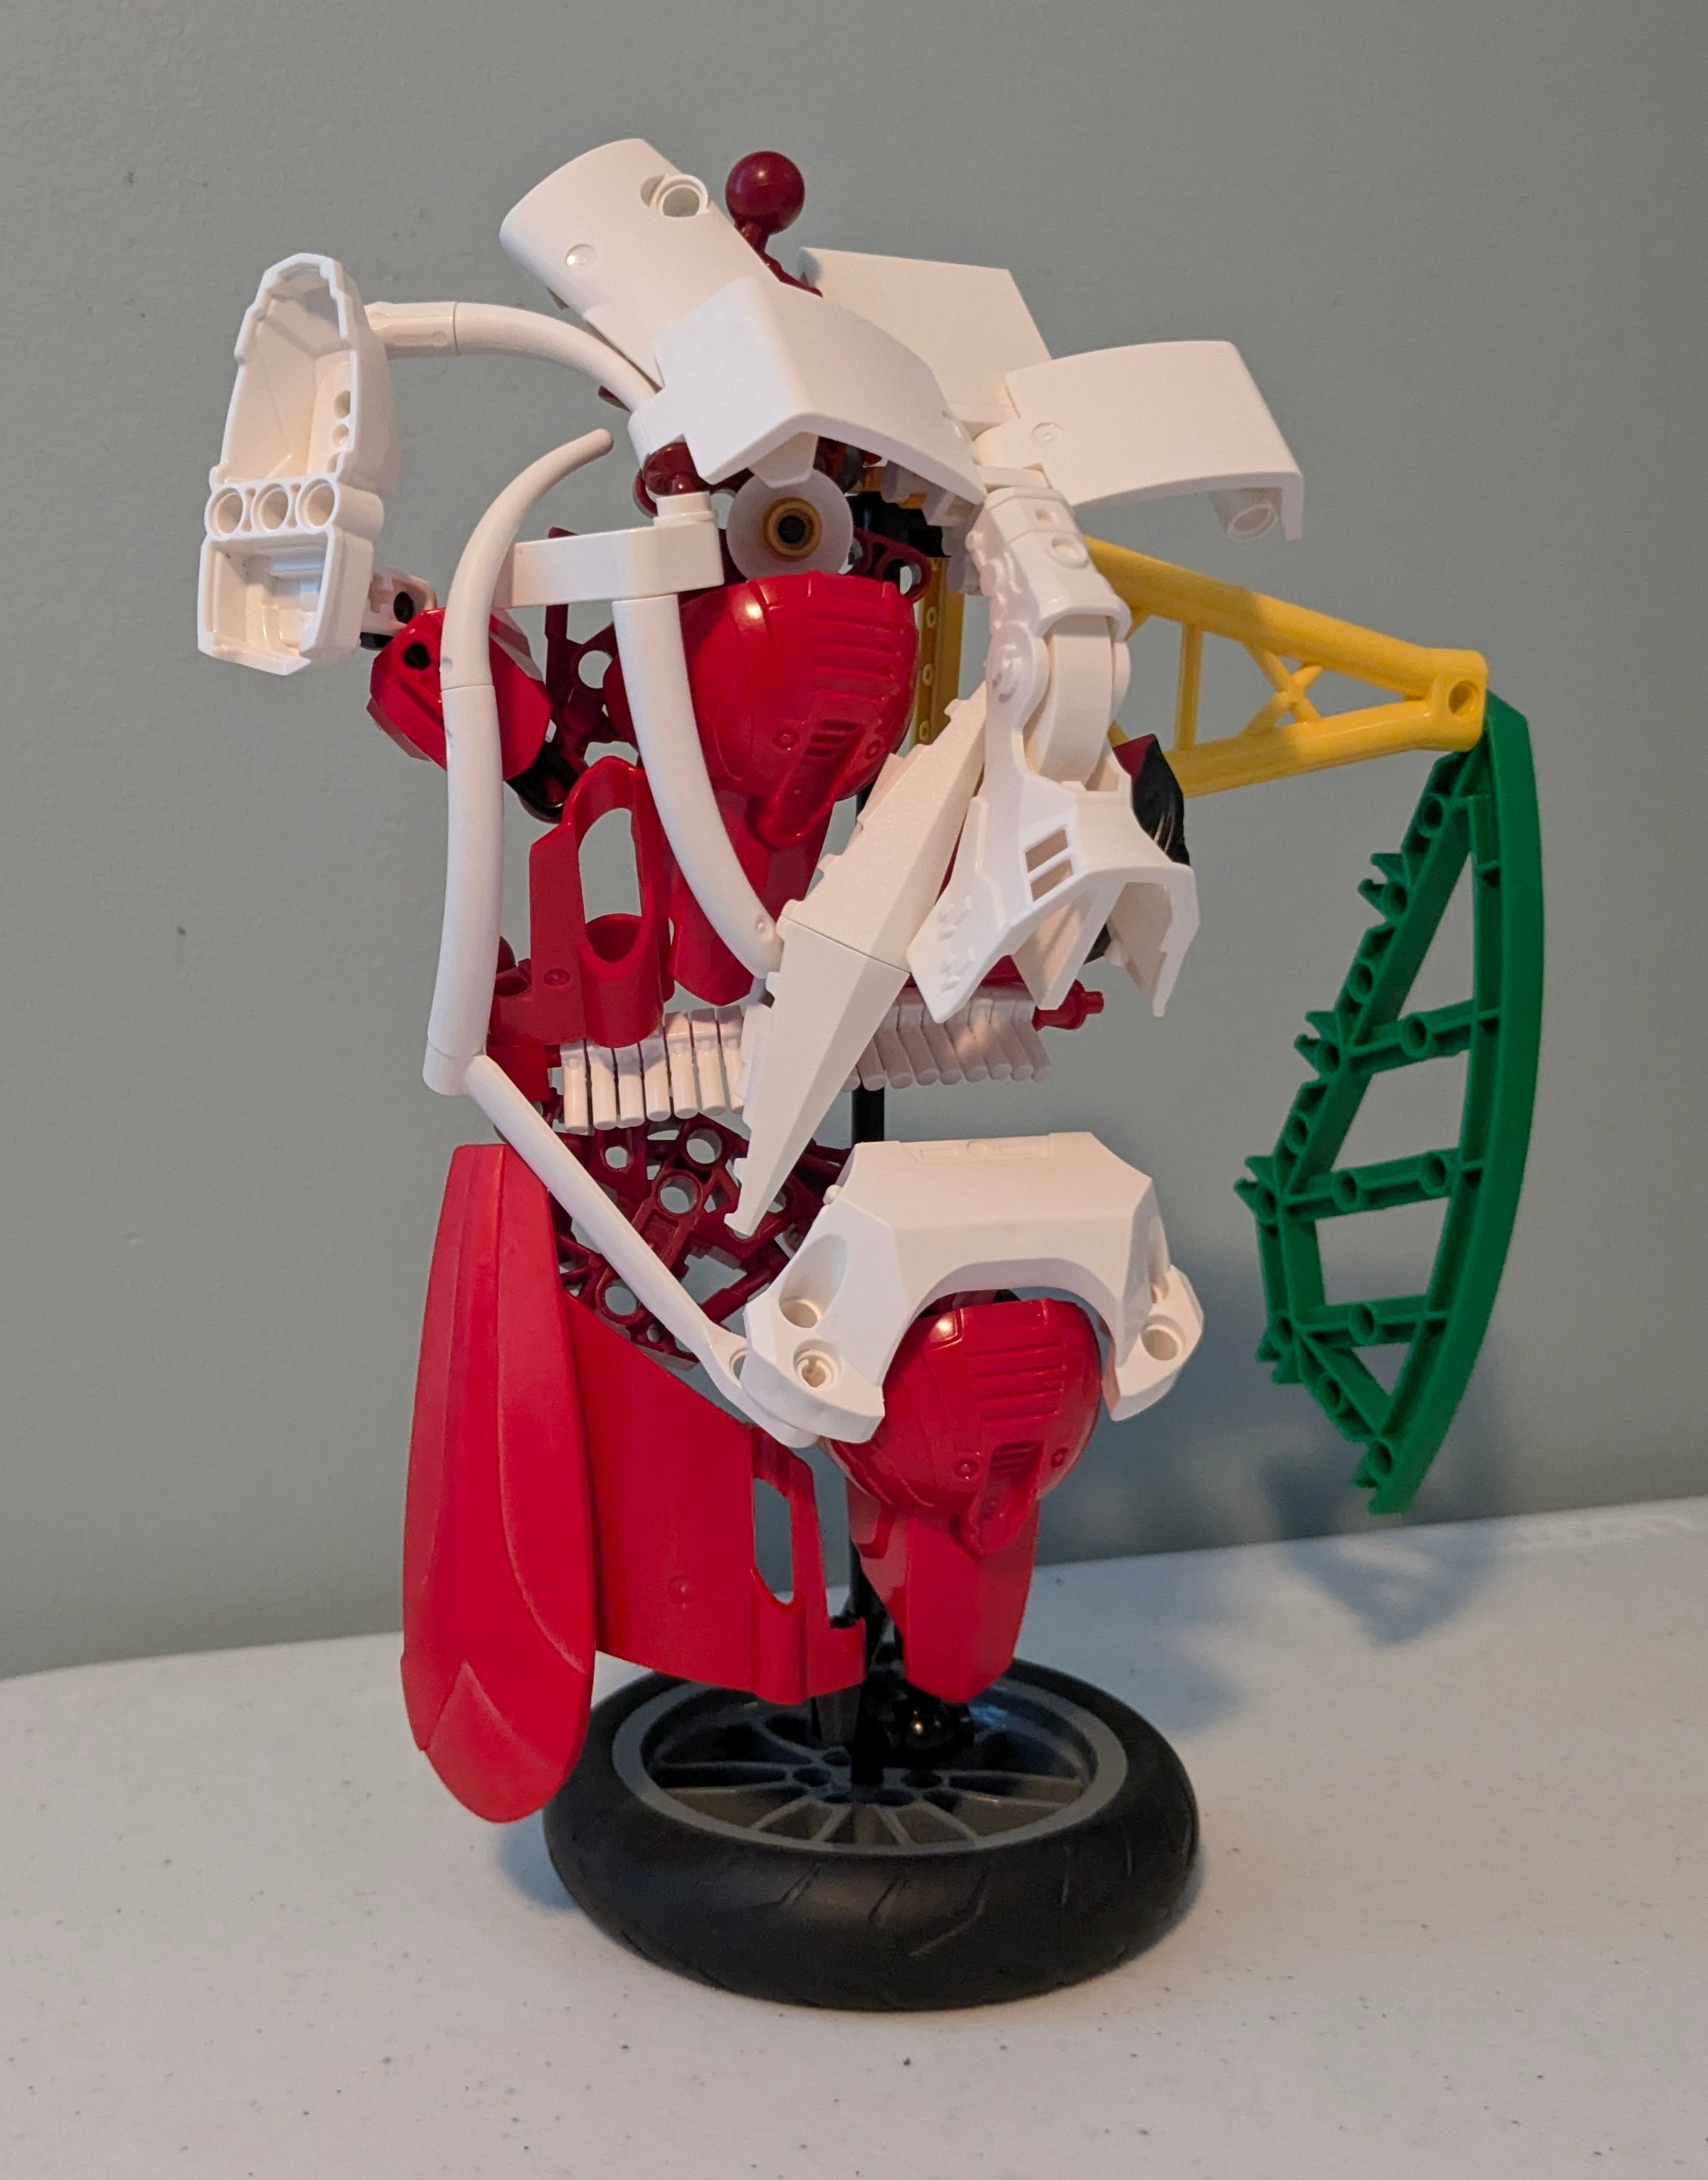
So, I slowly built up the face, reserving a meager handful of parts for the hunter and base and only just managing to bring the part count down (or so I thought). I took my photos, edited the background, and broke down the MOC to shoot the parts grid…
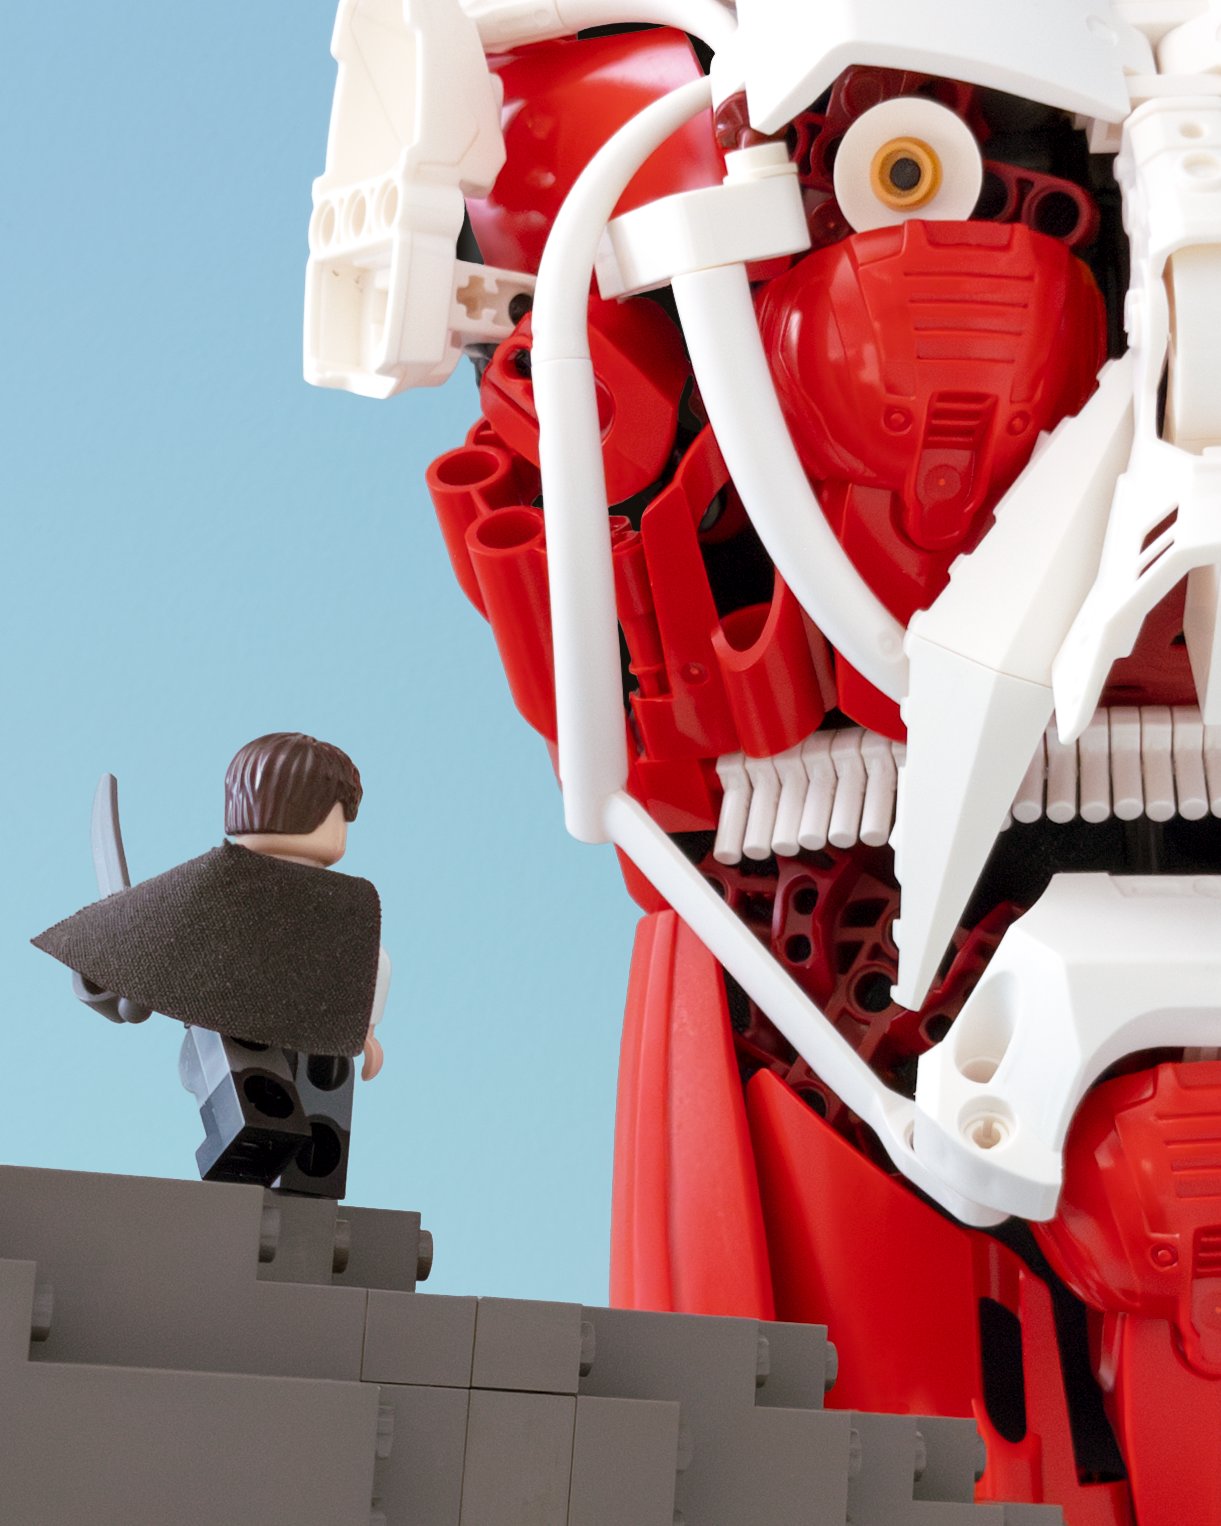
…only to count 111 parts. Somewhere in my running tally sheet, I hadn’t carried a ten.
I was bummed, but rebuilding would give me another chance to streamline the design and fix some fiddly sections.
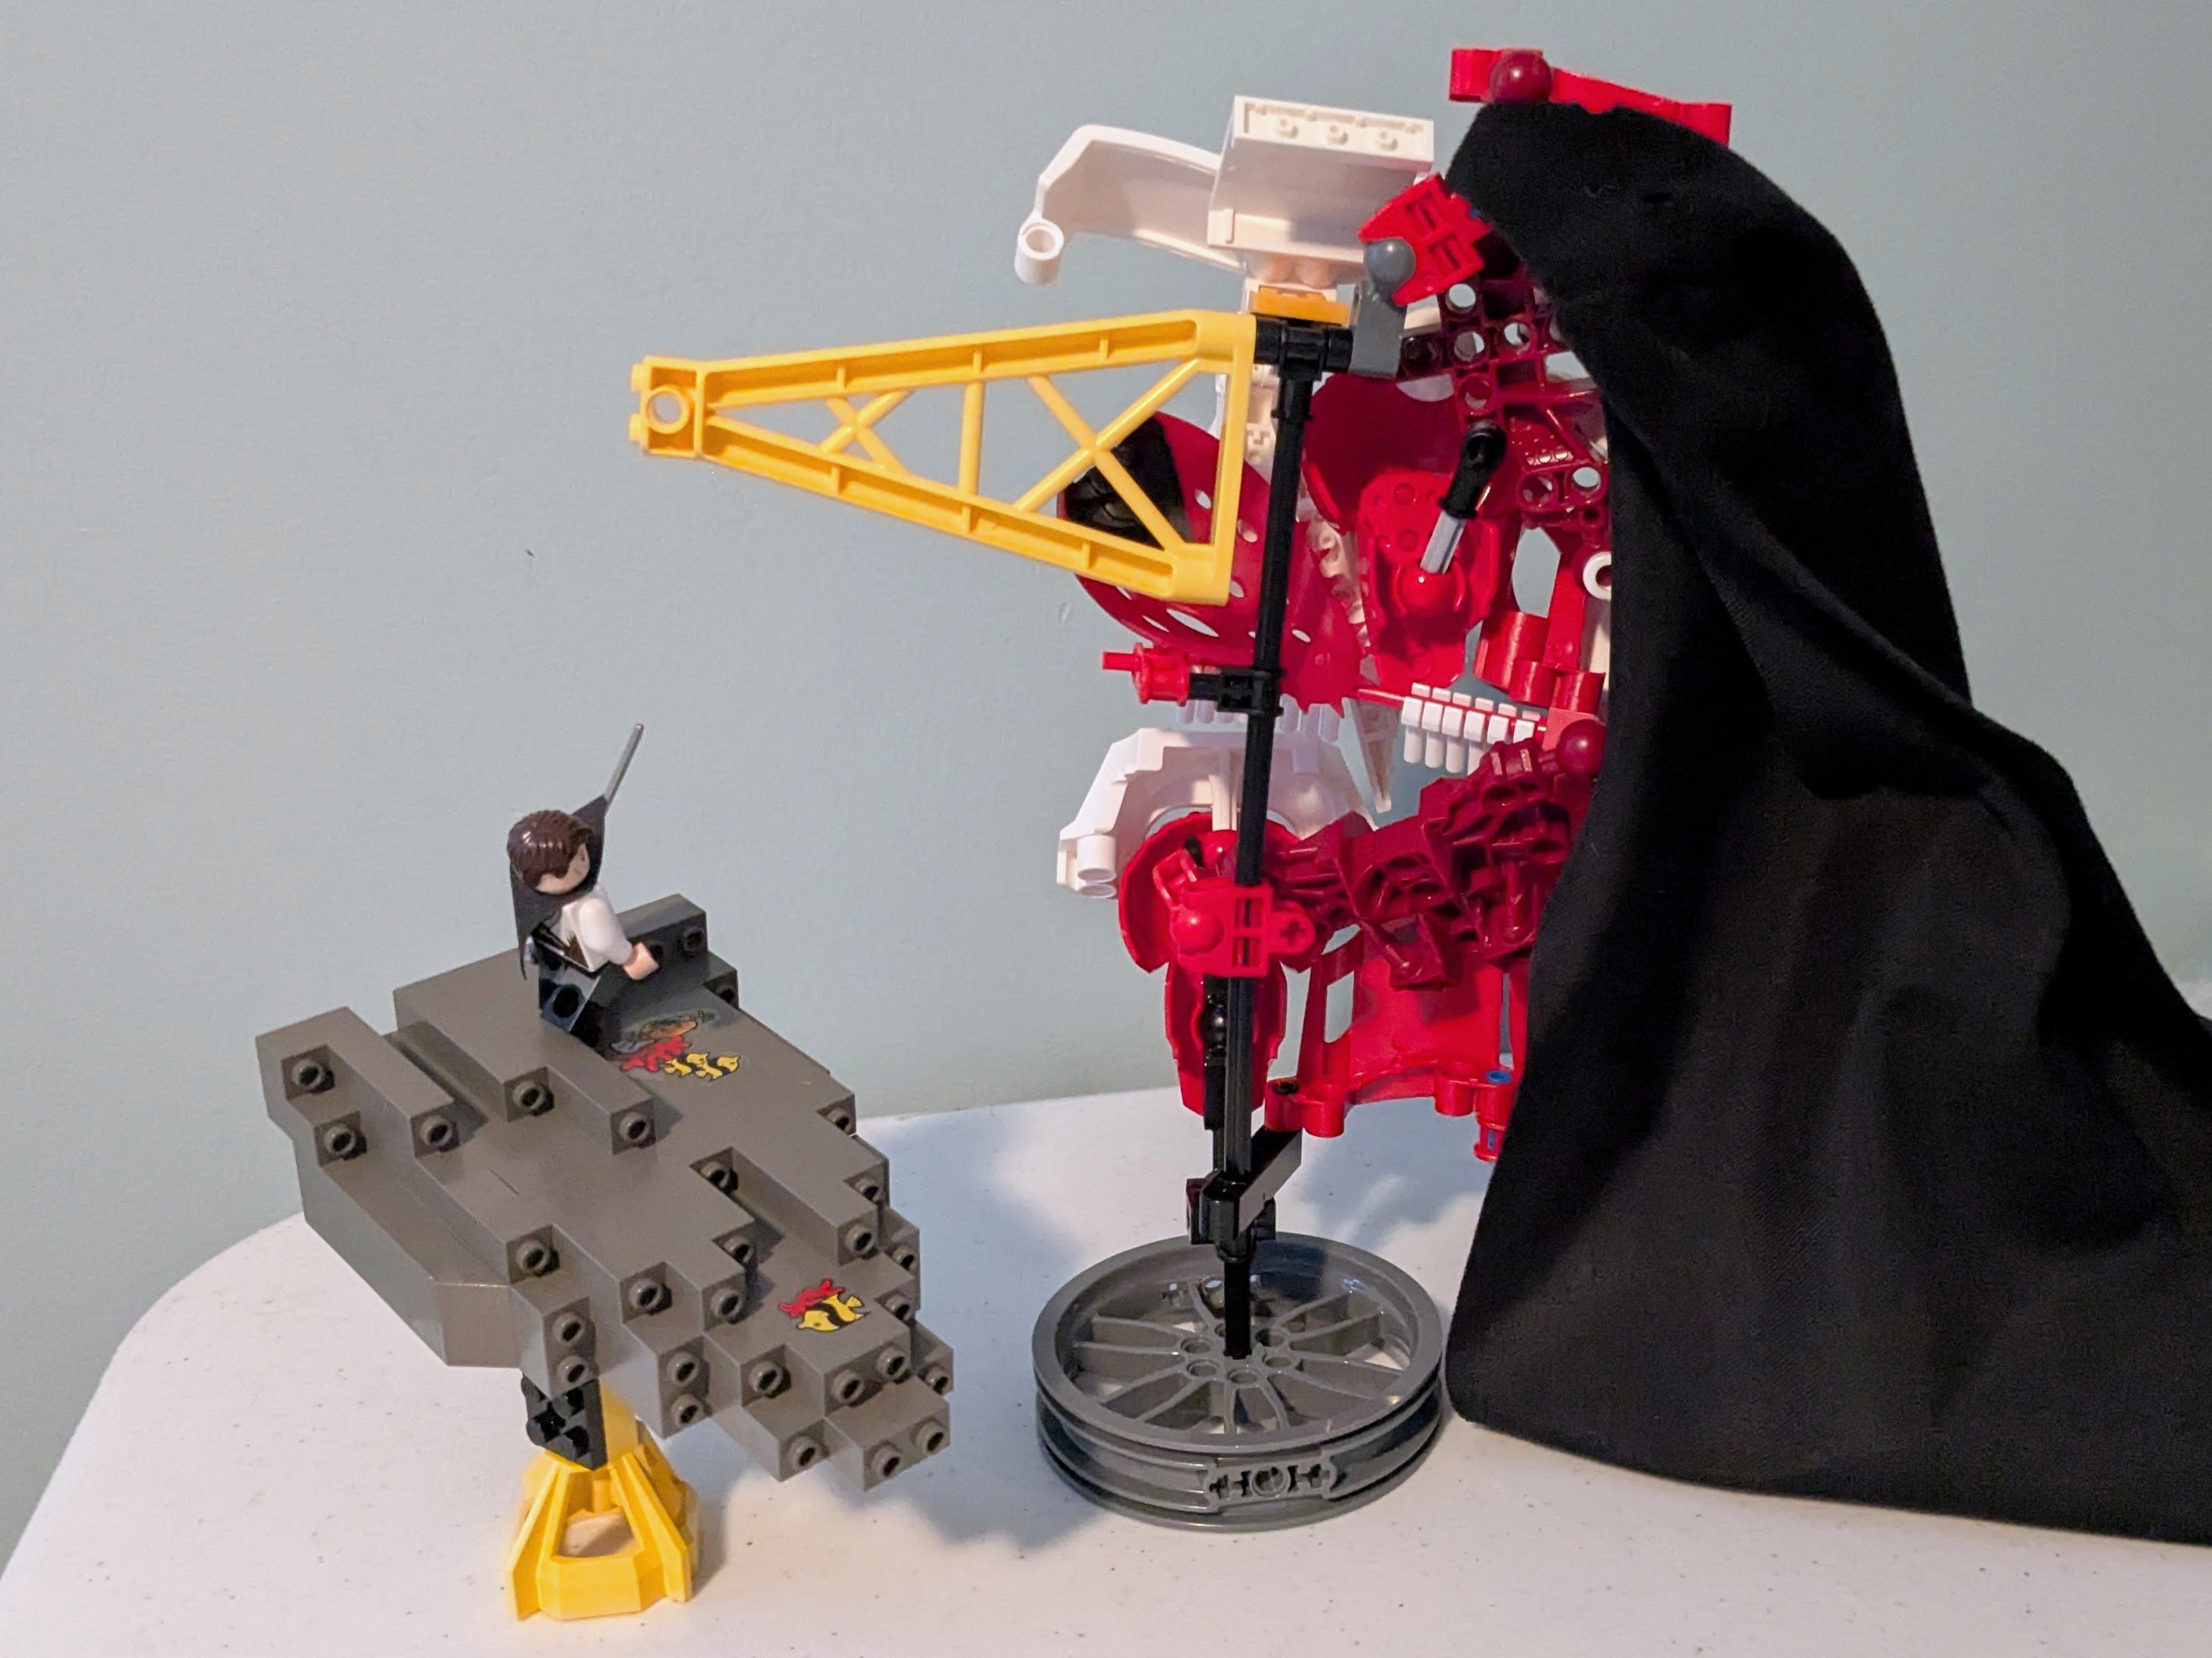
Looking back at my reference images, my initial attempt looked too bulbous when viewed straight on, with the head extending far beyond the neck. On the new version, I made the neck much wider and the head blockier, which better matched the titan’s proportions and allowed me to cut a number of parts. Based on advice from Nathan (woomy_world), I also got the eye positioned to better point toward the minifig hunter.
Presentation
I used my background overlay technique again, with very little of my wall showing through the sky. The updated version allowed me to position the large Technic Darth Vader cape to fill all the gaps in the face, meaning the rest of the editing was mostly just adjusting light and color and cleaning up blemishes.
Reflections
What I learned:
- Editing works. Rebuild, rebuild, rebuild.
- Fill gaps with parts instead of fixing in post—it’s faster and cleaner.
This really felt like the win I was hoping for after the previous round. Even without a strong connection to the source material, it’s one of my favorite builds from the contest—evoking the theme on multiple levels. I love the drama and energy in the final image and how the big blocky rock pieces? contrast the sinewy texture on the face.
The last-minute rebuild feels like a huge part of what made the final version so successful. It was surprisingly similar to editing my writing: When I rewrite, I find myself keeping the language I like while fixing the kludgy bits on the fly. Do enough passes and the level of polish goes up. The same process was at work here, and that little math accident made the whole build much more refined.
It was a fun fusion of sculpting and the brick painting style I’ve used recently. I could see myself building this out into a full bust one day, as there’d be plenty of internal volume to mount sturdy connections.