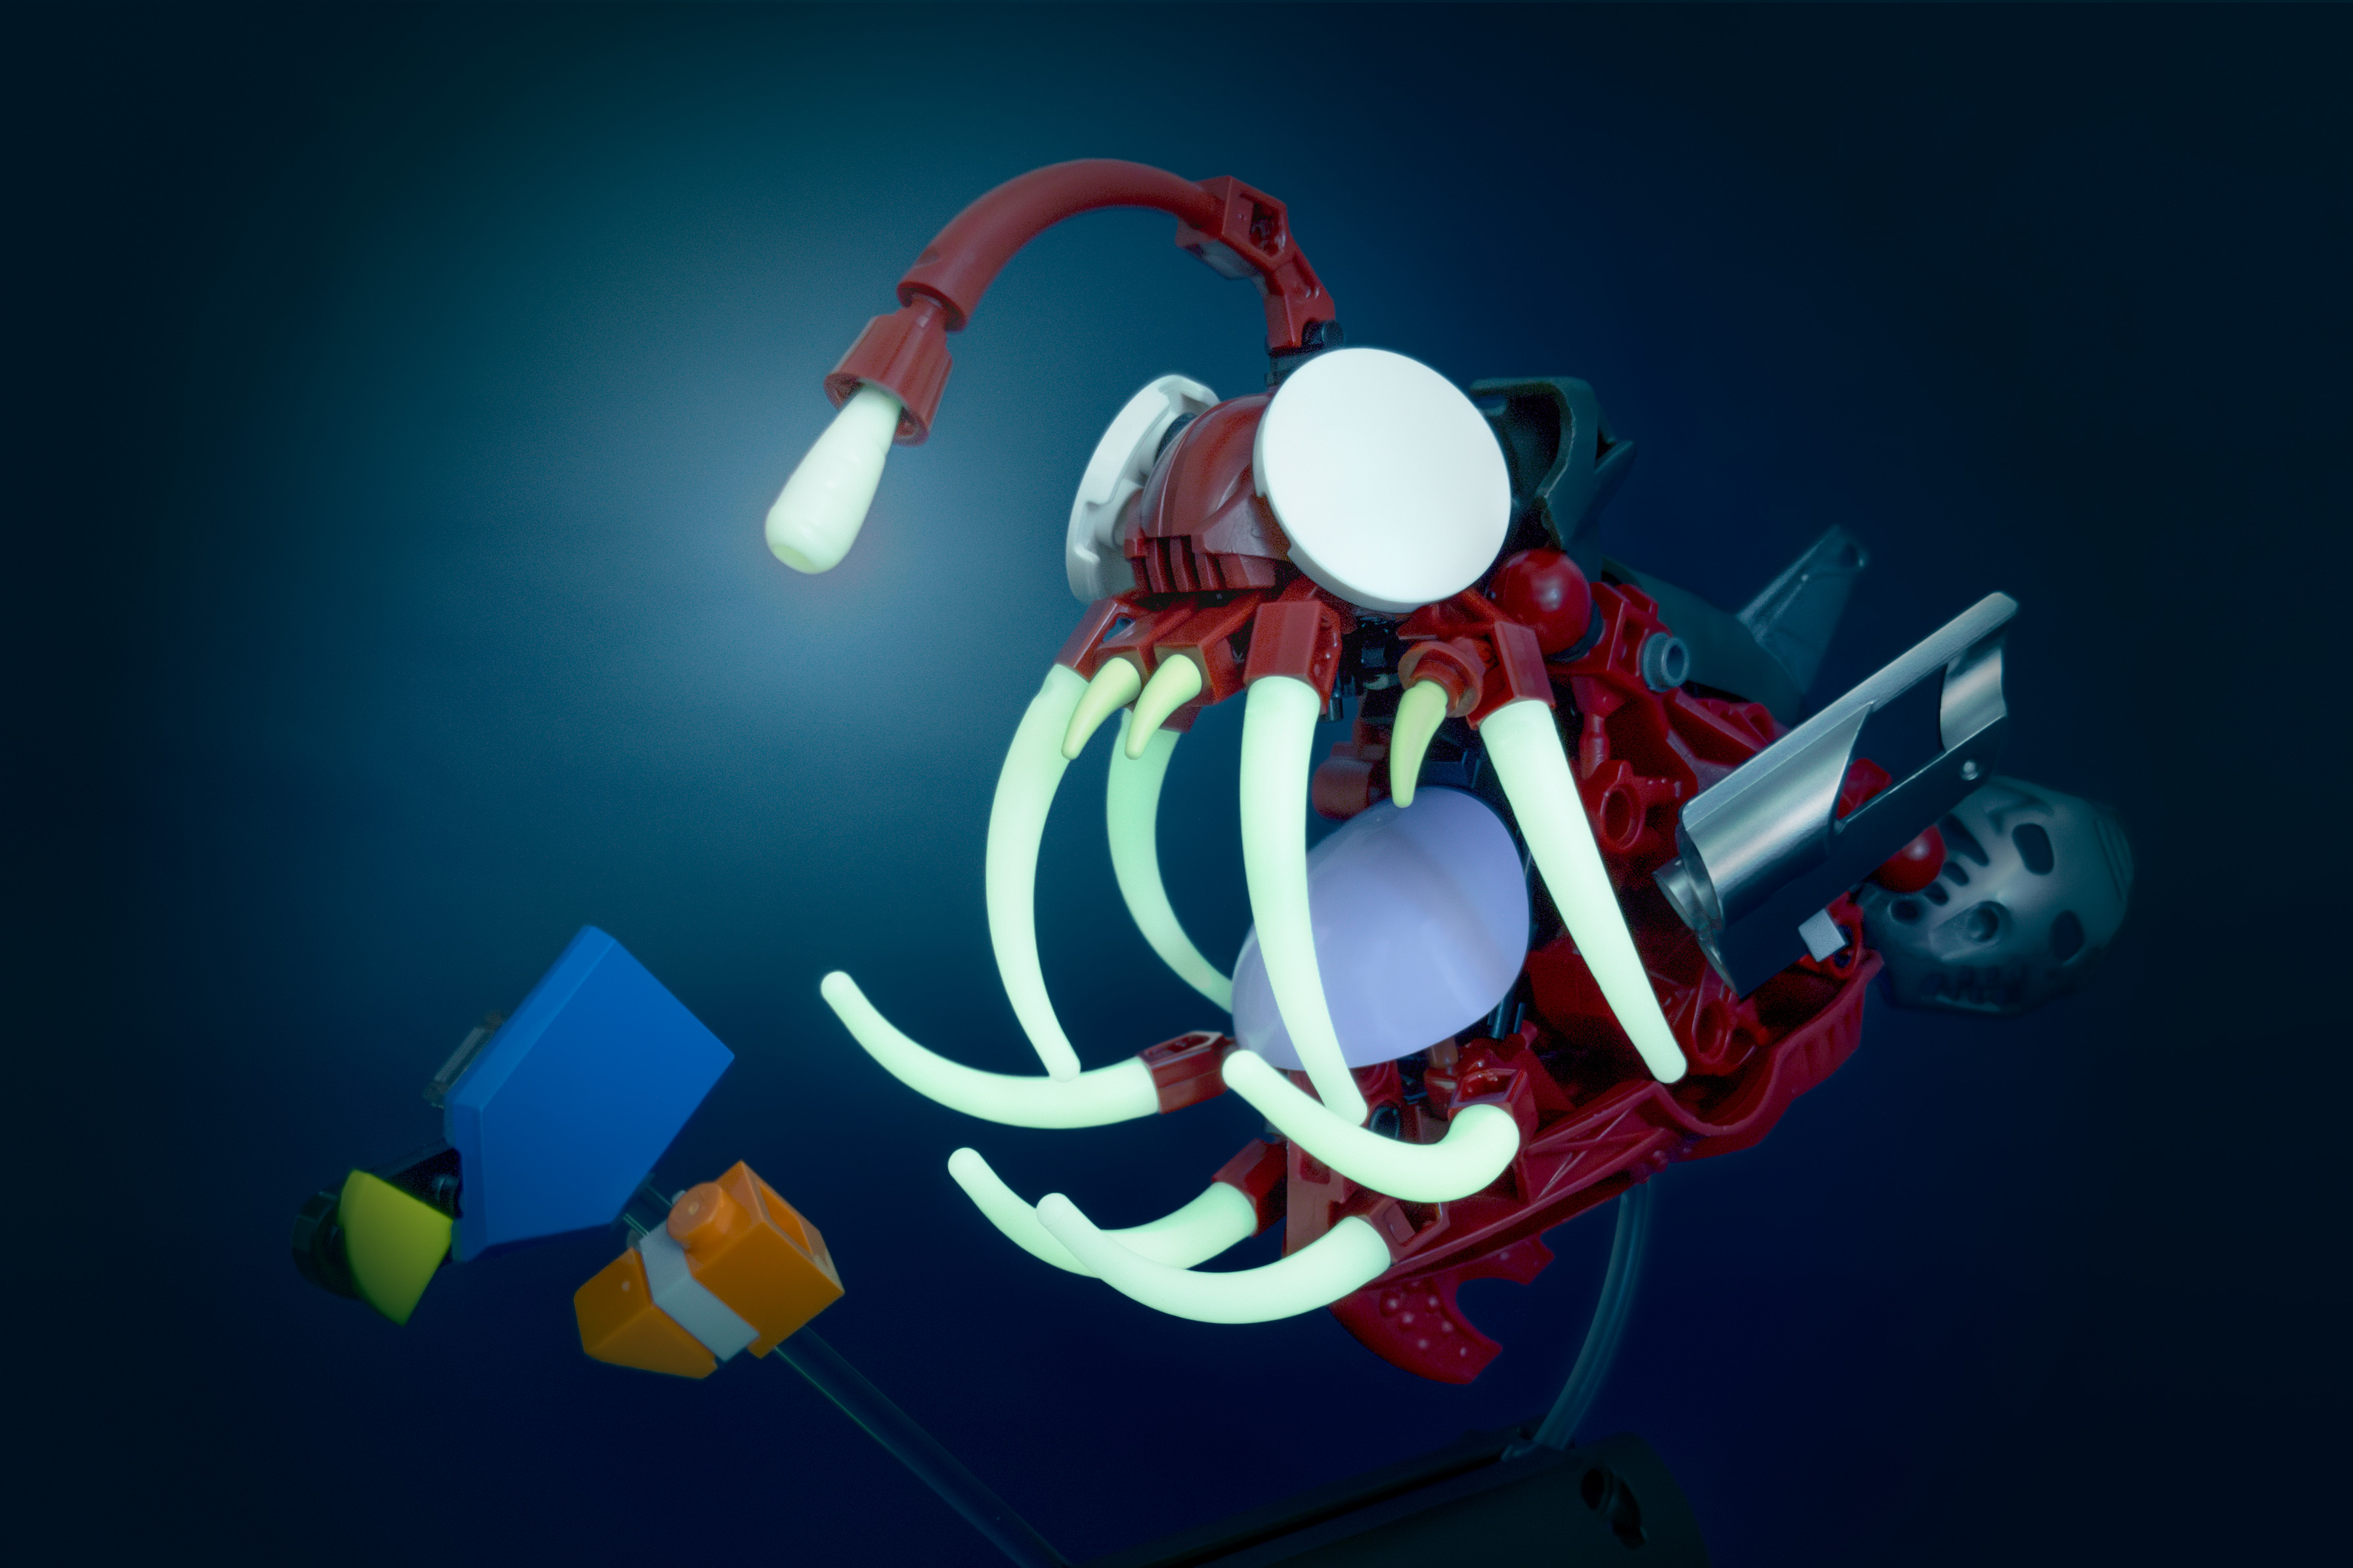
In the Twilight Zone
Published
Brief
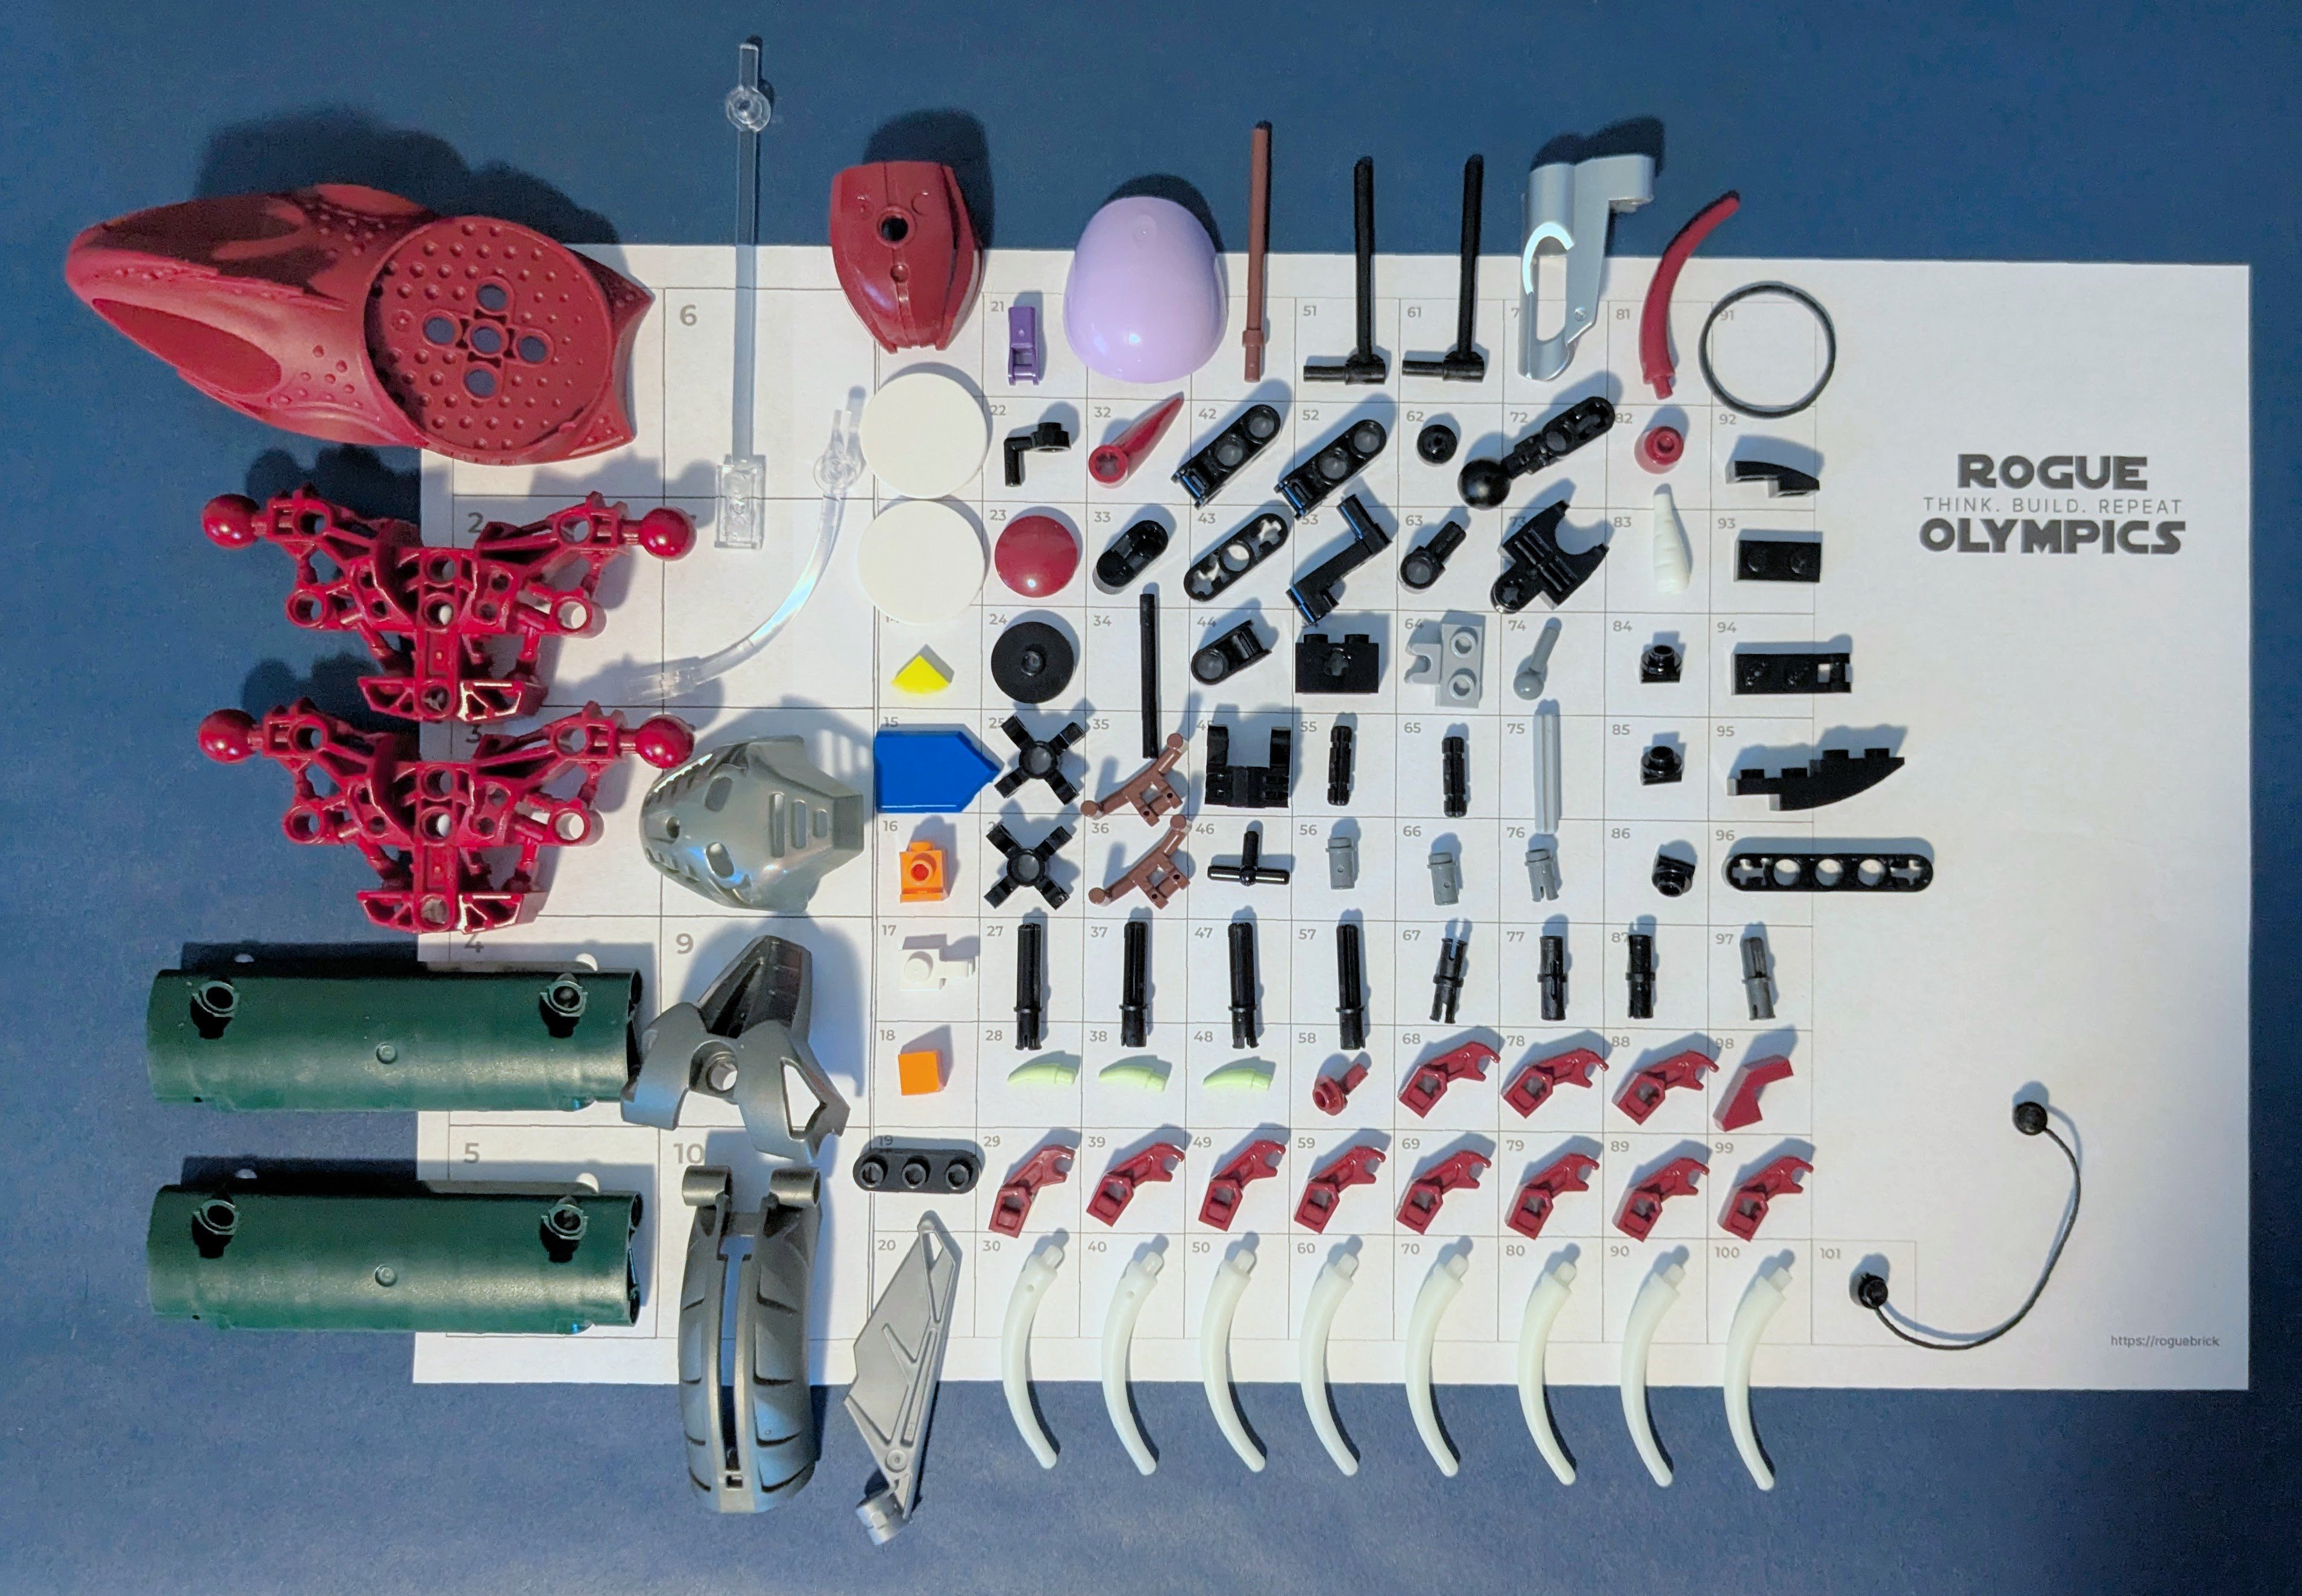
After a couple other small builds, I was excited to try out the RogueOlympics challenge: A contest organized by the RogueBricks.de forum where each week brings a new prompt to answer using 101 parts or fewer. The first round theme was “twilight”/“Dämmerüng,” but I decided to add more constraints to my build. There were two ongoing BioniLUG events that I also wanted to tie in: the deep sea collab for the BZP convention circuit and the LUG’s monthly seed part challenge using the Visorak shells?.
Concept and research
Combining the two themes, I thought of the twilight zone or mesopelagic—the last layer of the ocean that light from the sun reaches. I thought of making an anglerfish using a dark red Visorak shell that I had.
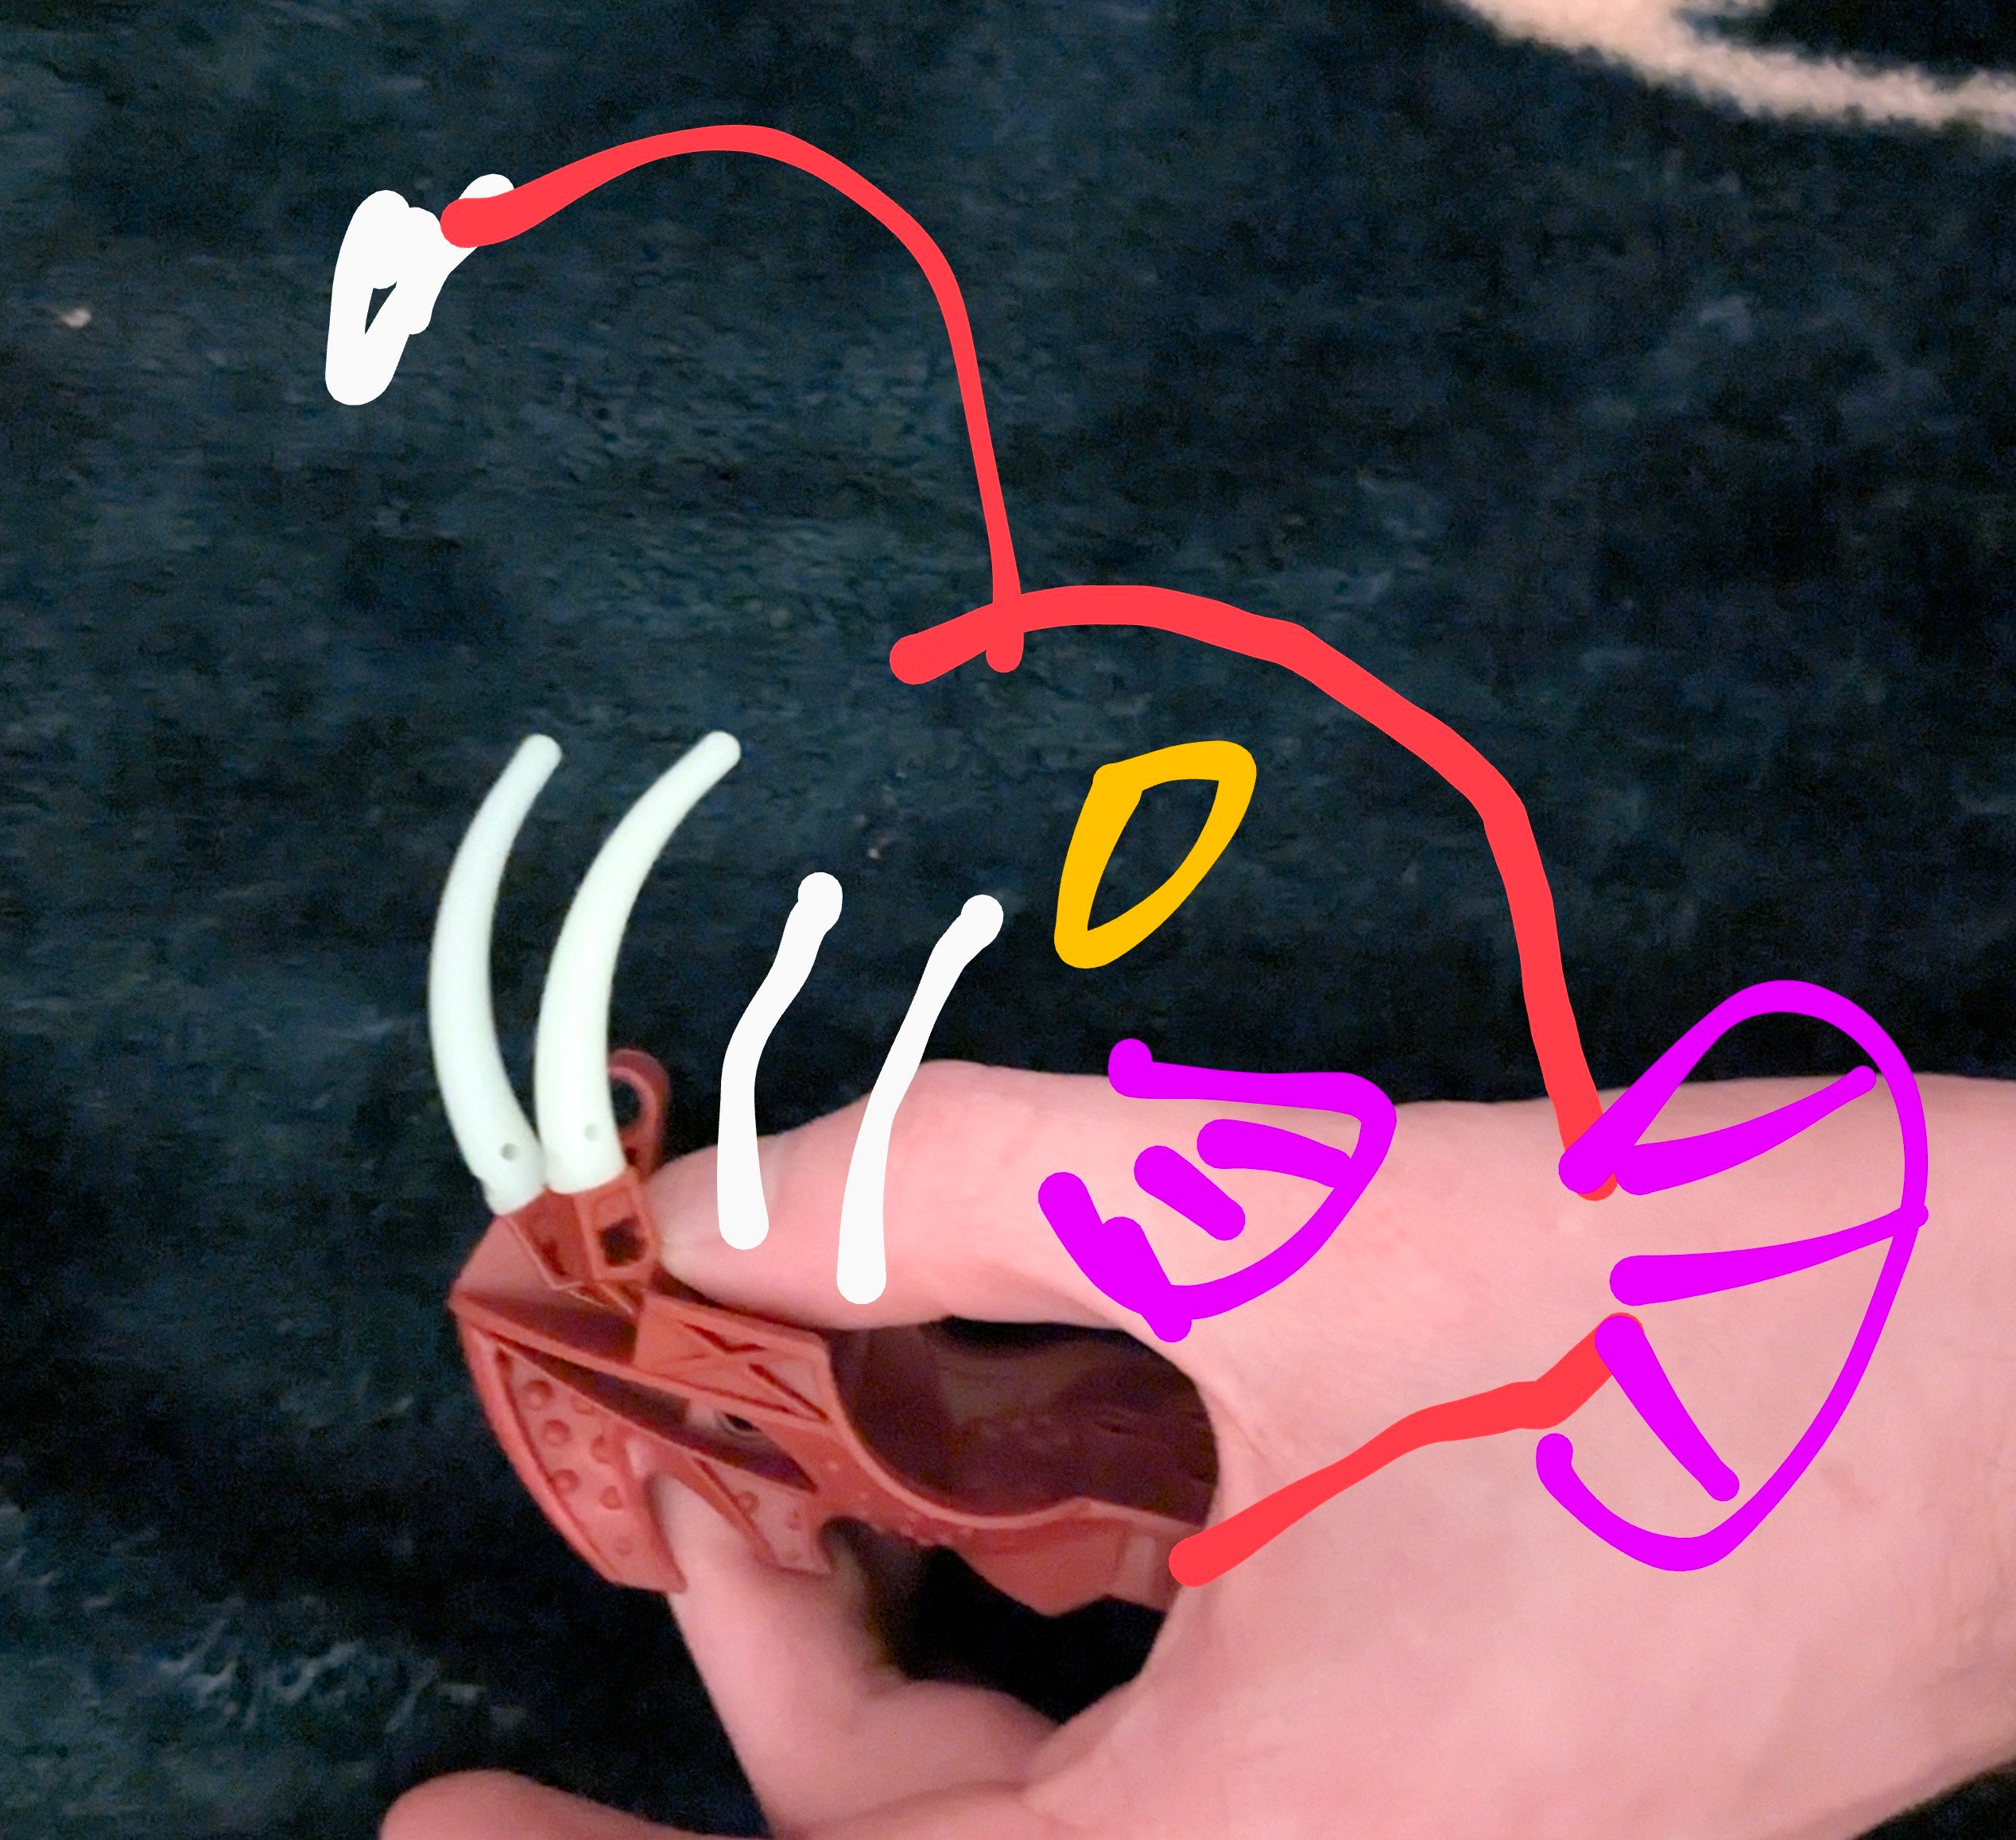
My instinct was to give the fish large, white eyes, something I realized was inspired by the anglerfish from Finding Nemo, which I would directly reference later. I wanted to include a biting function, and this gave me a good reference to try to match the motion to.
Build
The lower jaw mechanism came together easily, using the geometry of the Visorak shell to allow the teeth to tilt outward as the mouth opened.
I wanted to match this motion with the upper jaw, although the limited space left was a puzzle. After trying a number of variations, I found a complex option that used a rubber band and string.
The upper jaw and teeth don’t move much, but they slide back into the head just enough to look good with the lower jaw motion. The rubber band also helped the mouth close again after it’s opened, although it can be a bit stiff.
However, when I counted the parts, I was at 118—17 pieces over the limit. That began the process of revising the design, cutting out every piece I could. After testing out a few alterations, I decided to create two versions of the model: one with exactly 101 parts for RogueOlympics and another with more detail and with extra reinforcement to survive the convention circuit.
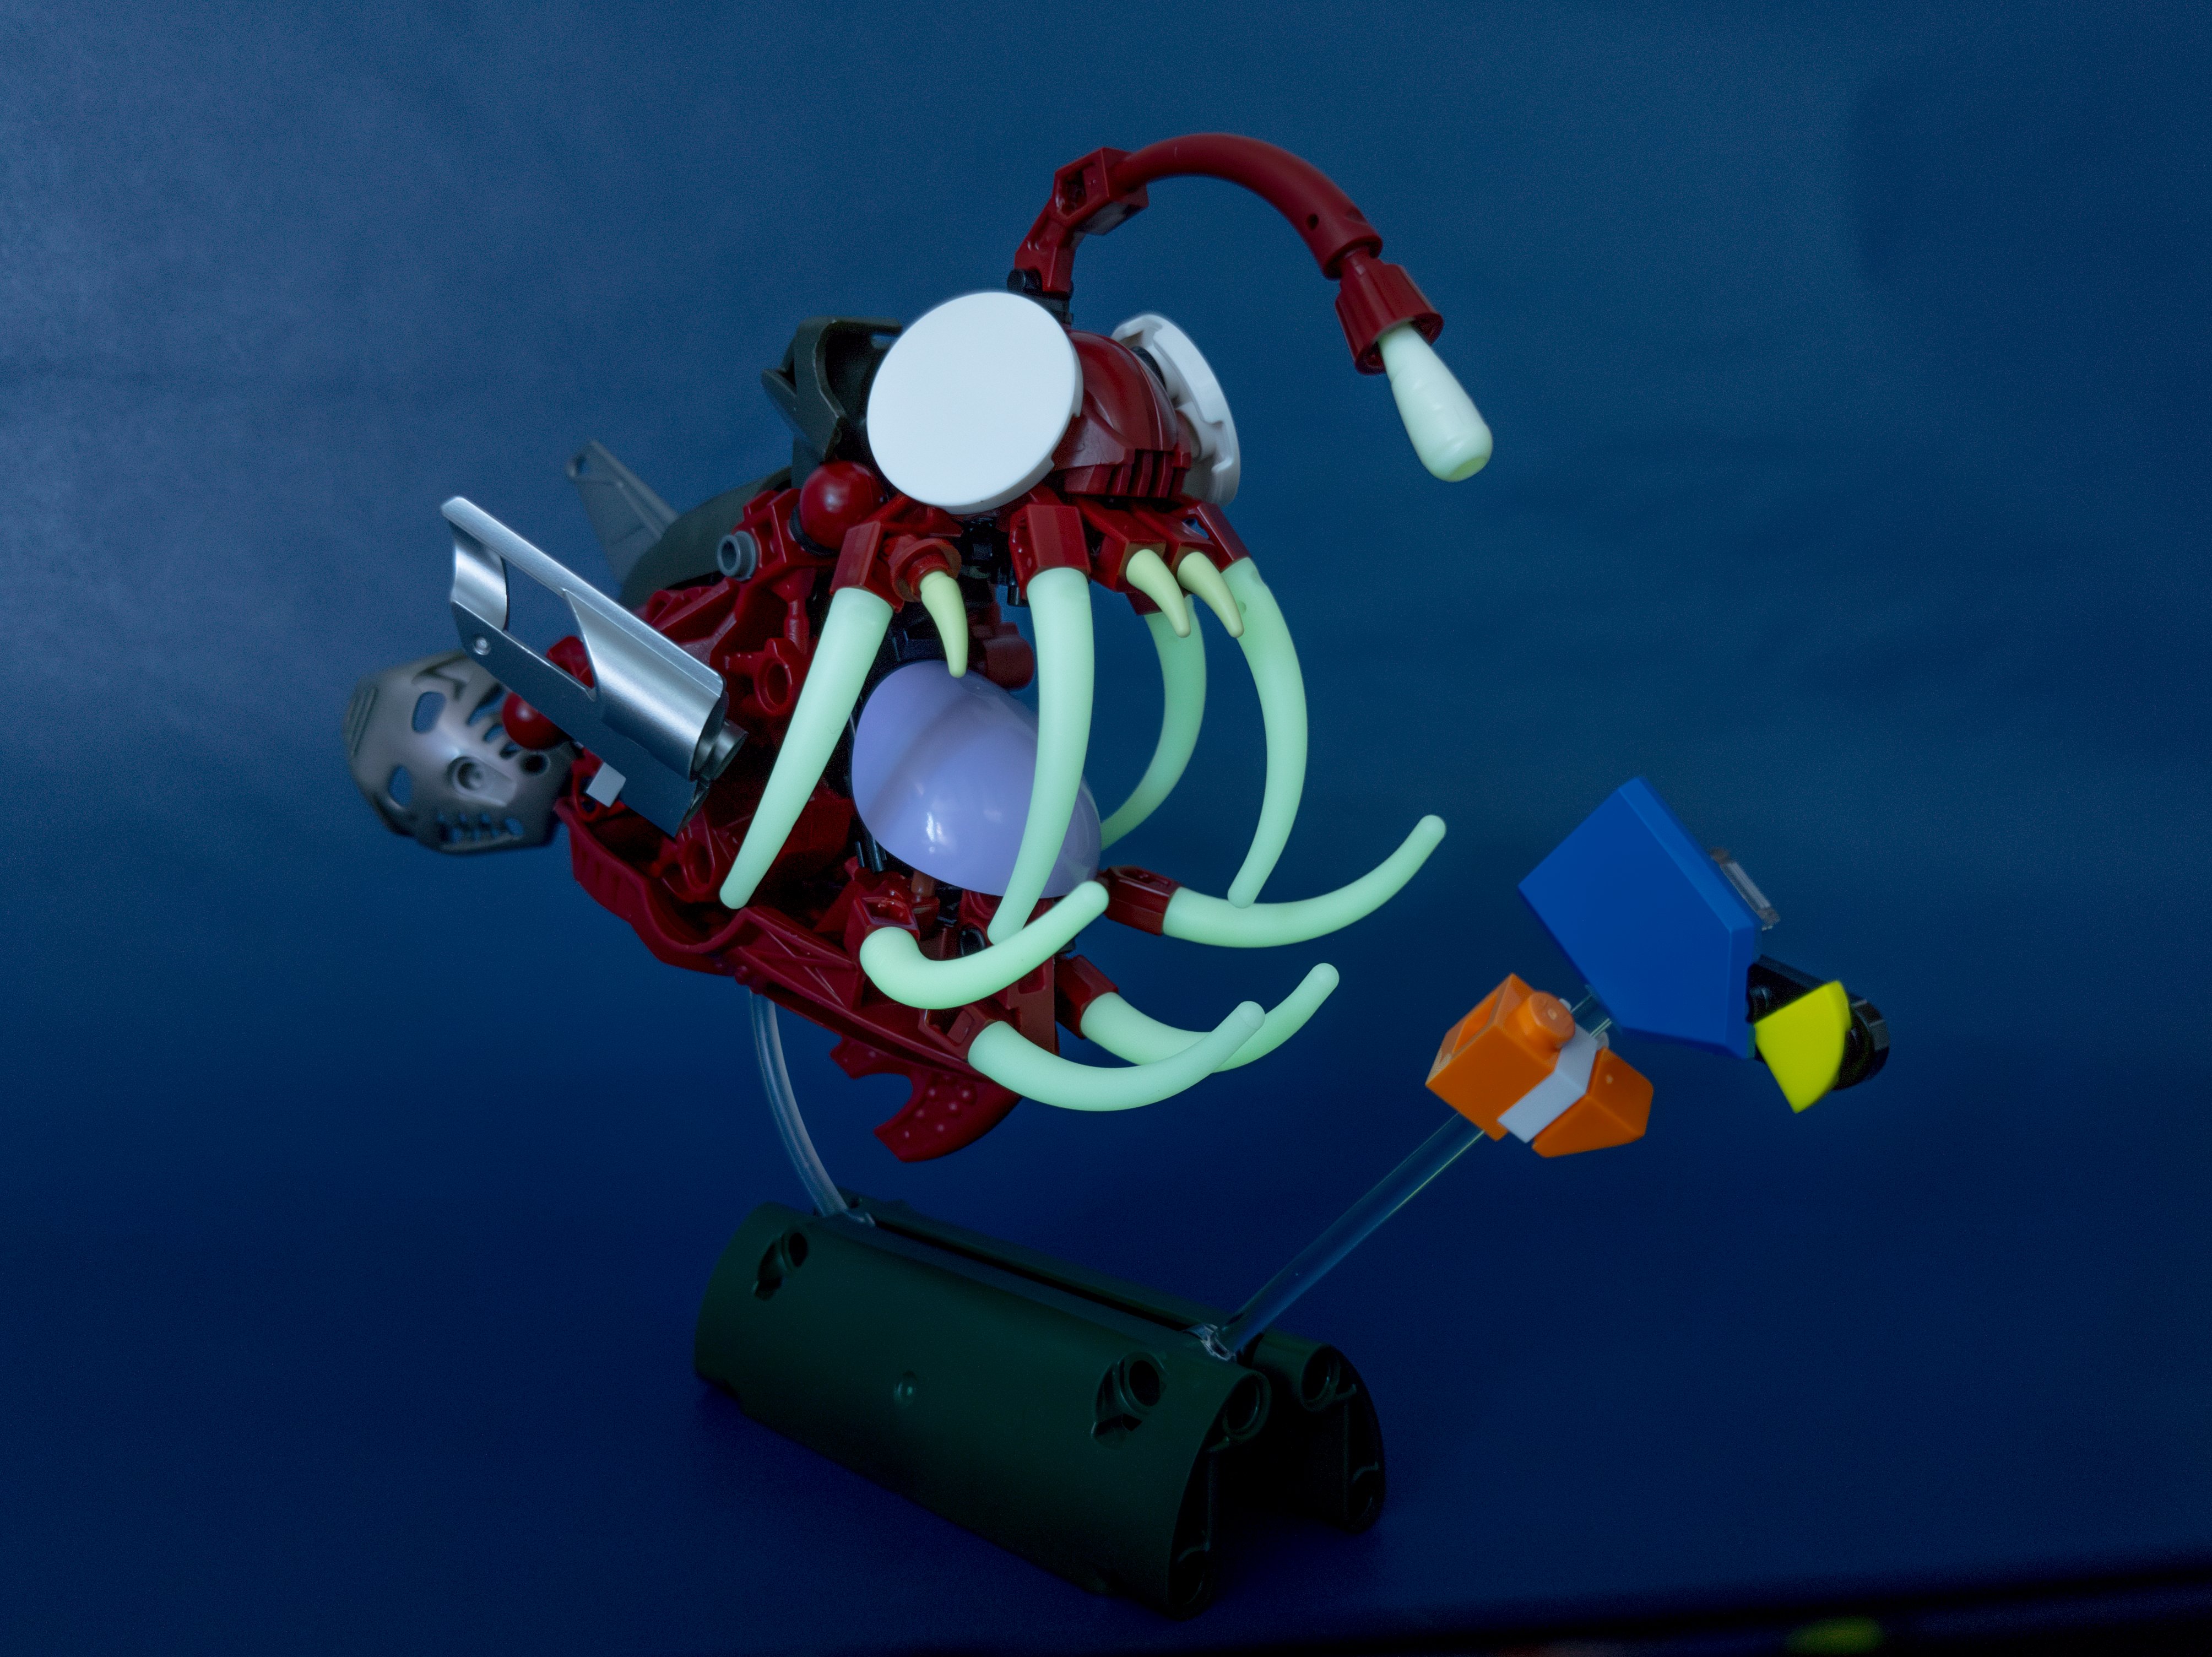
The RogueOlympics version used fewer small teeth on the upper jaw and lacked the fin and dark red filler parts facing away from the camera. A few Technic pins in the internals and base were also removed to free up space for a couple fishy friends to add more drama to the final presentation.
Presentation
Camera settings
I’ve enjoyed improving my photography and photo editing through the Lego hobby. I currently take all my photos with my phone camera. I use the Adobe Lightroom app to get more control over the camera settings and take DNG photos that port directly into Lightroom and Photoshop for editing. I recently read more about the available settings that are used to set exposure and limit noise. I learned that there are three main factors that influence exposure, together forming the exposure triangle:
- Aperture, the opening through which light enters the camera, is fixed on my Pixel, as with many phone cameras. This means I can’t change the amount of light that reaches the sensor in a given time.
- ISO, or sensitivity, should be set as low as possible given the shooting conditions to minimize noise in the image. In film photography, ISO is a fixed quality of the film selected, and it is typically seen as a last resort to increase exposure in low light. In a digital camera, setting a low ISO minimizes amplification applied to the sensor data, a process which amplifies the noise inherent in the signal. In this case, I set the ISO to the lowest value supported by the camera to keep noise down.
- Shutter speed is then all that remains to control exposure for me. In these lighting conditions, a longer shot lasting 1/4 to 1/2 of a second was sufficient to balance the image. I can’t hold the camera steady enough for that length of time, so I took the photos for this build using a makeshift stand.
I’ve used a similar setup for photos in the past, but I feel this was the cleanest result I’ve gotten thanks to properly understanding the settings needed to optimize for my phone camera.
Photo edit
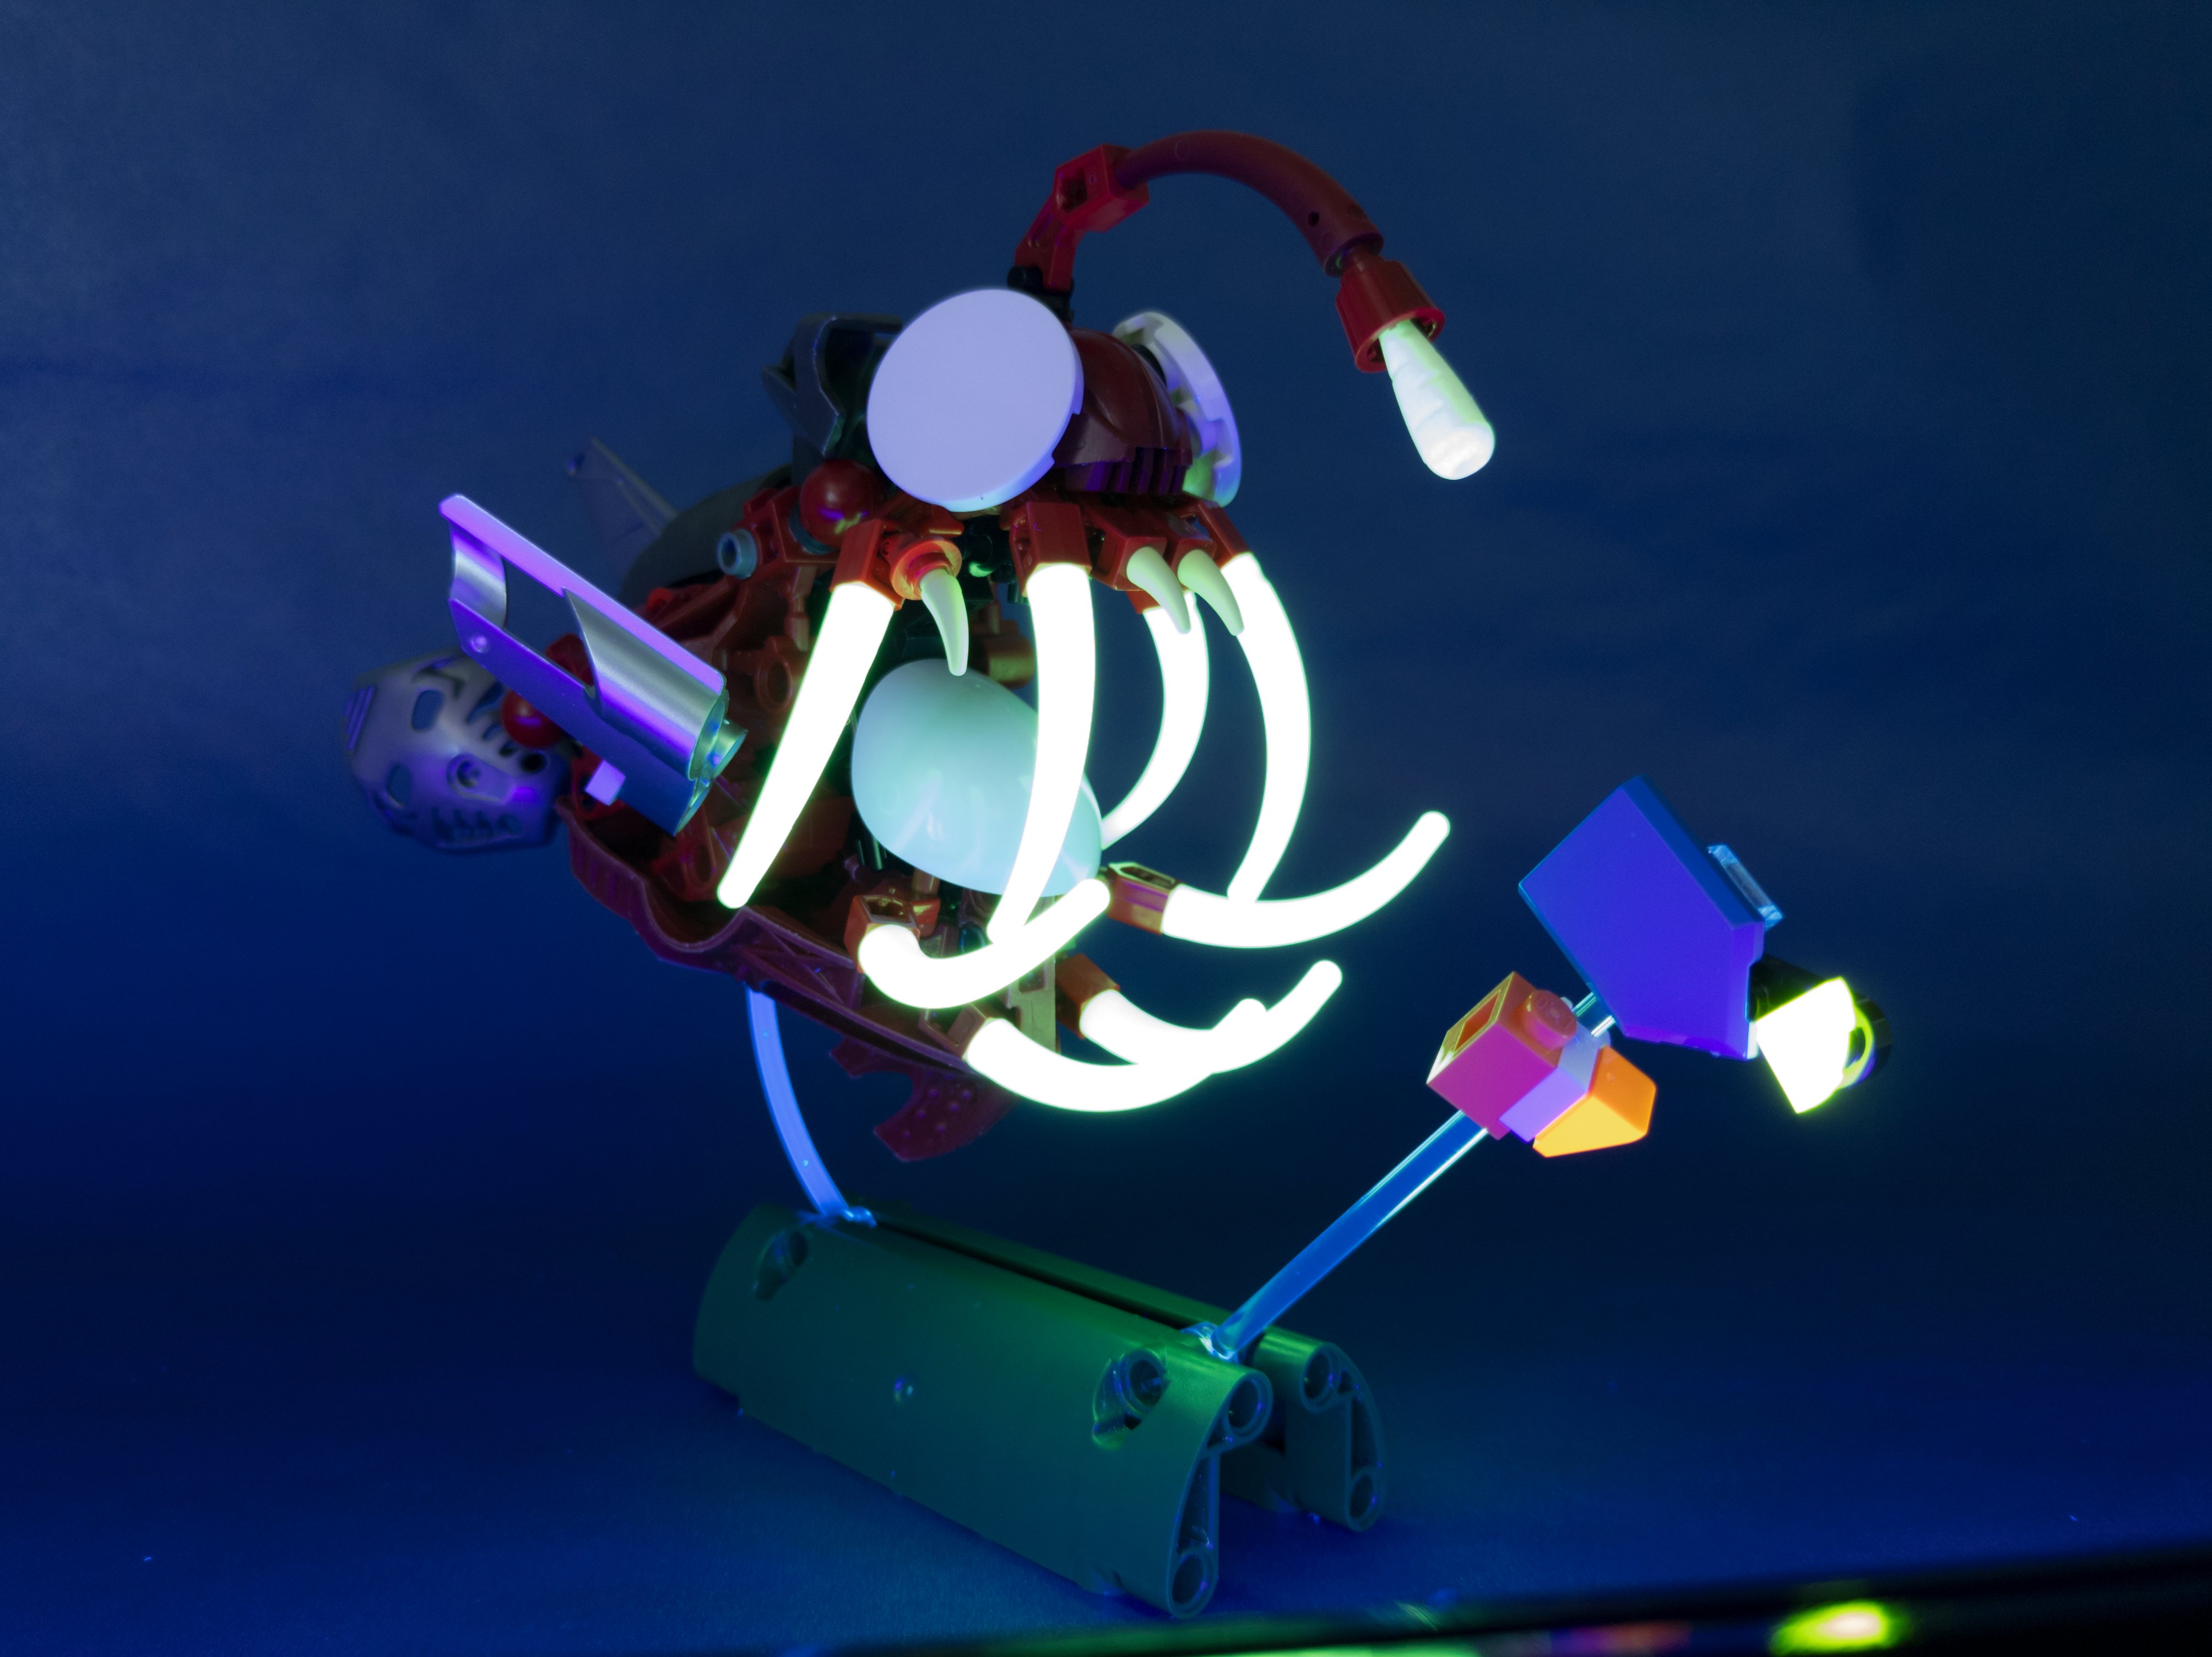
One of the rules of RogueOlympics is that even parts used as support must be counted toward the 101-piece total. I decided to keep the base visible in the final shot and not edit out the support. But I did add lighting effects, including selectively overlaying a second photo of the anglerfish taken under black light. UV light activates the glow-in-the-dark elements, allowing me to add in the eerie glow cast by the teeth and lure.
Reflections
What I learned:
- Use low ISO and higher shutter speed for mobile phone photography to reduce noise and improve image quality.
- Heroes and villains—even simple ones—can add drama to a scene.
This build feels like a great success. I completed a model with a fun play feature in under a week, prepped an immersive photo, took it to a local con with my local LUG, and sent it out for the BioniLUG circuit where it made its first appearance at BrickFair Fredericksburg (Instagram).
The exposure triangle finally “clicking” was just a small part of this MOC, but I’m excited to have learned something new in the process. The extra constraints came together to make something I’m really proud of.
I’d love to add more play features to my Bionicle builds in the future. The one thing I felt like I was missing was a good reference for different mechanisms I could use. If anyone is aware of something like that (Lego or otherwise—maybe similar to this Bionicle technique guide), please let me know!